Remodeling of the Interior done in April, 2016 at RV Outfitters, Bend Oregon
At the beginning of April, 2016, work began on remodeling our 1999 Beaver Marquis at RV Outfitters in Bend Oregon. The goals were 3 fold - enlarge the bed platform in the bedroom to allow a 72in by 80in "King Bed", replace the RV Fridge with a domestic fridge, and replace the dining room table with a credenza/corian pull out table combination to increase cabinet space and allow legroom beneath the table.
Remodeling the Queen Bed to an RV King Bed
My wife wanted to purchase two 36 by 80 inch
custom made mattresses individually selected by she and I based on our
personalized comfort. The original bedroom included no slide-out and an RV Queen
sized bed 60x78 inches oriented in the same direction as the coach. The
"mission" then was to increase the bed platform 6" on both sides.
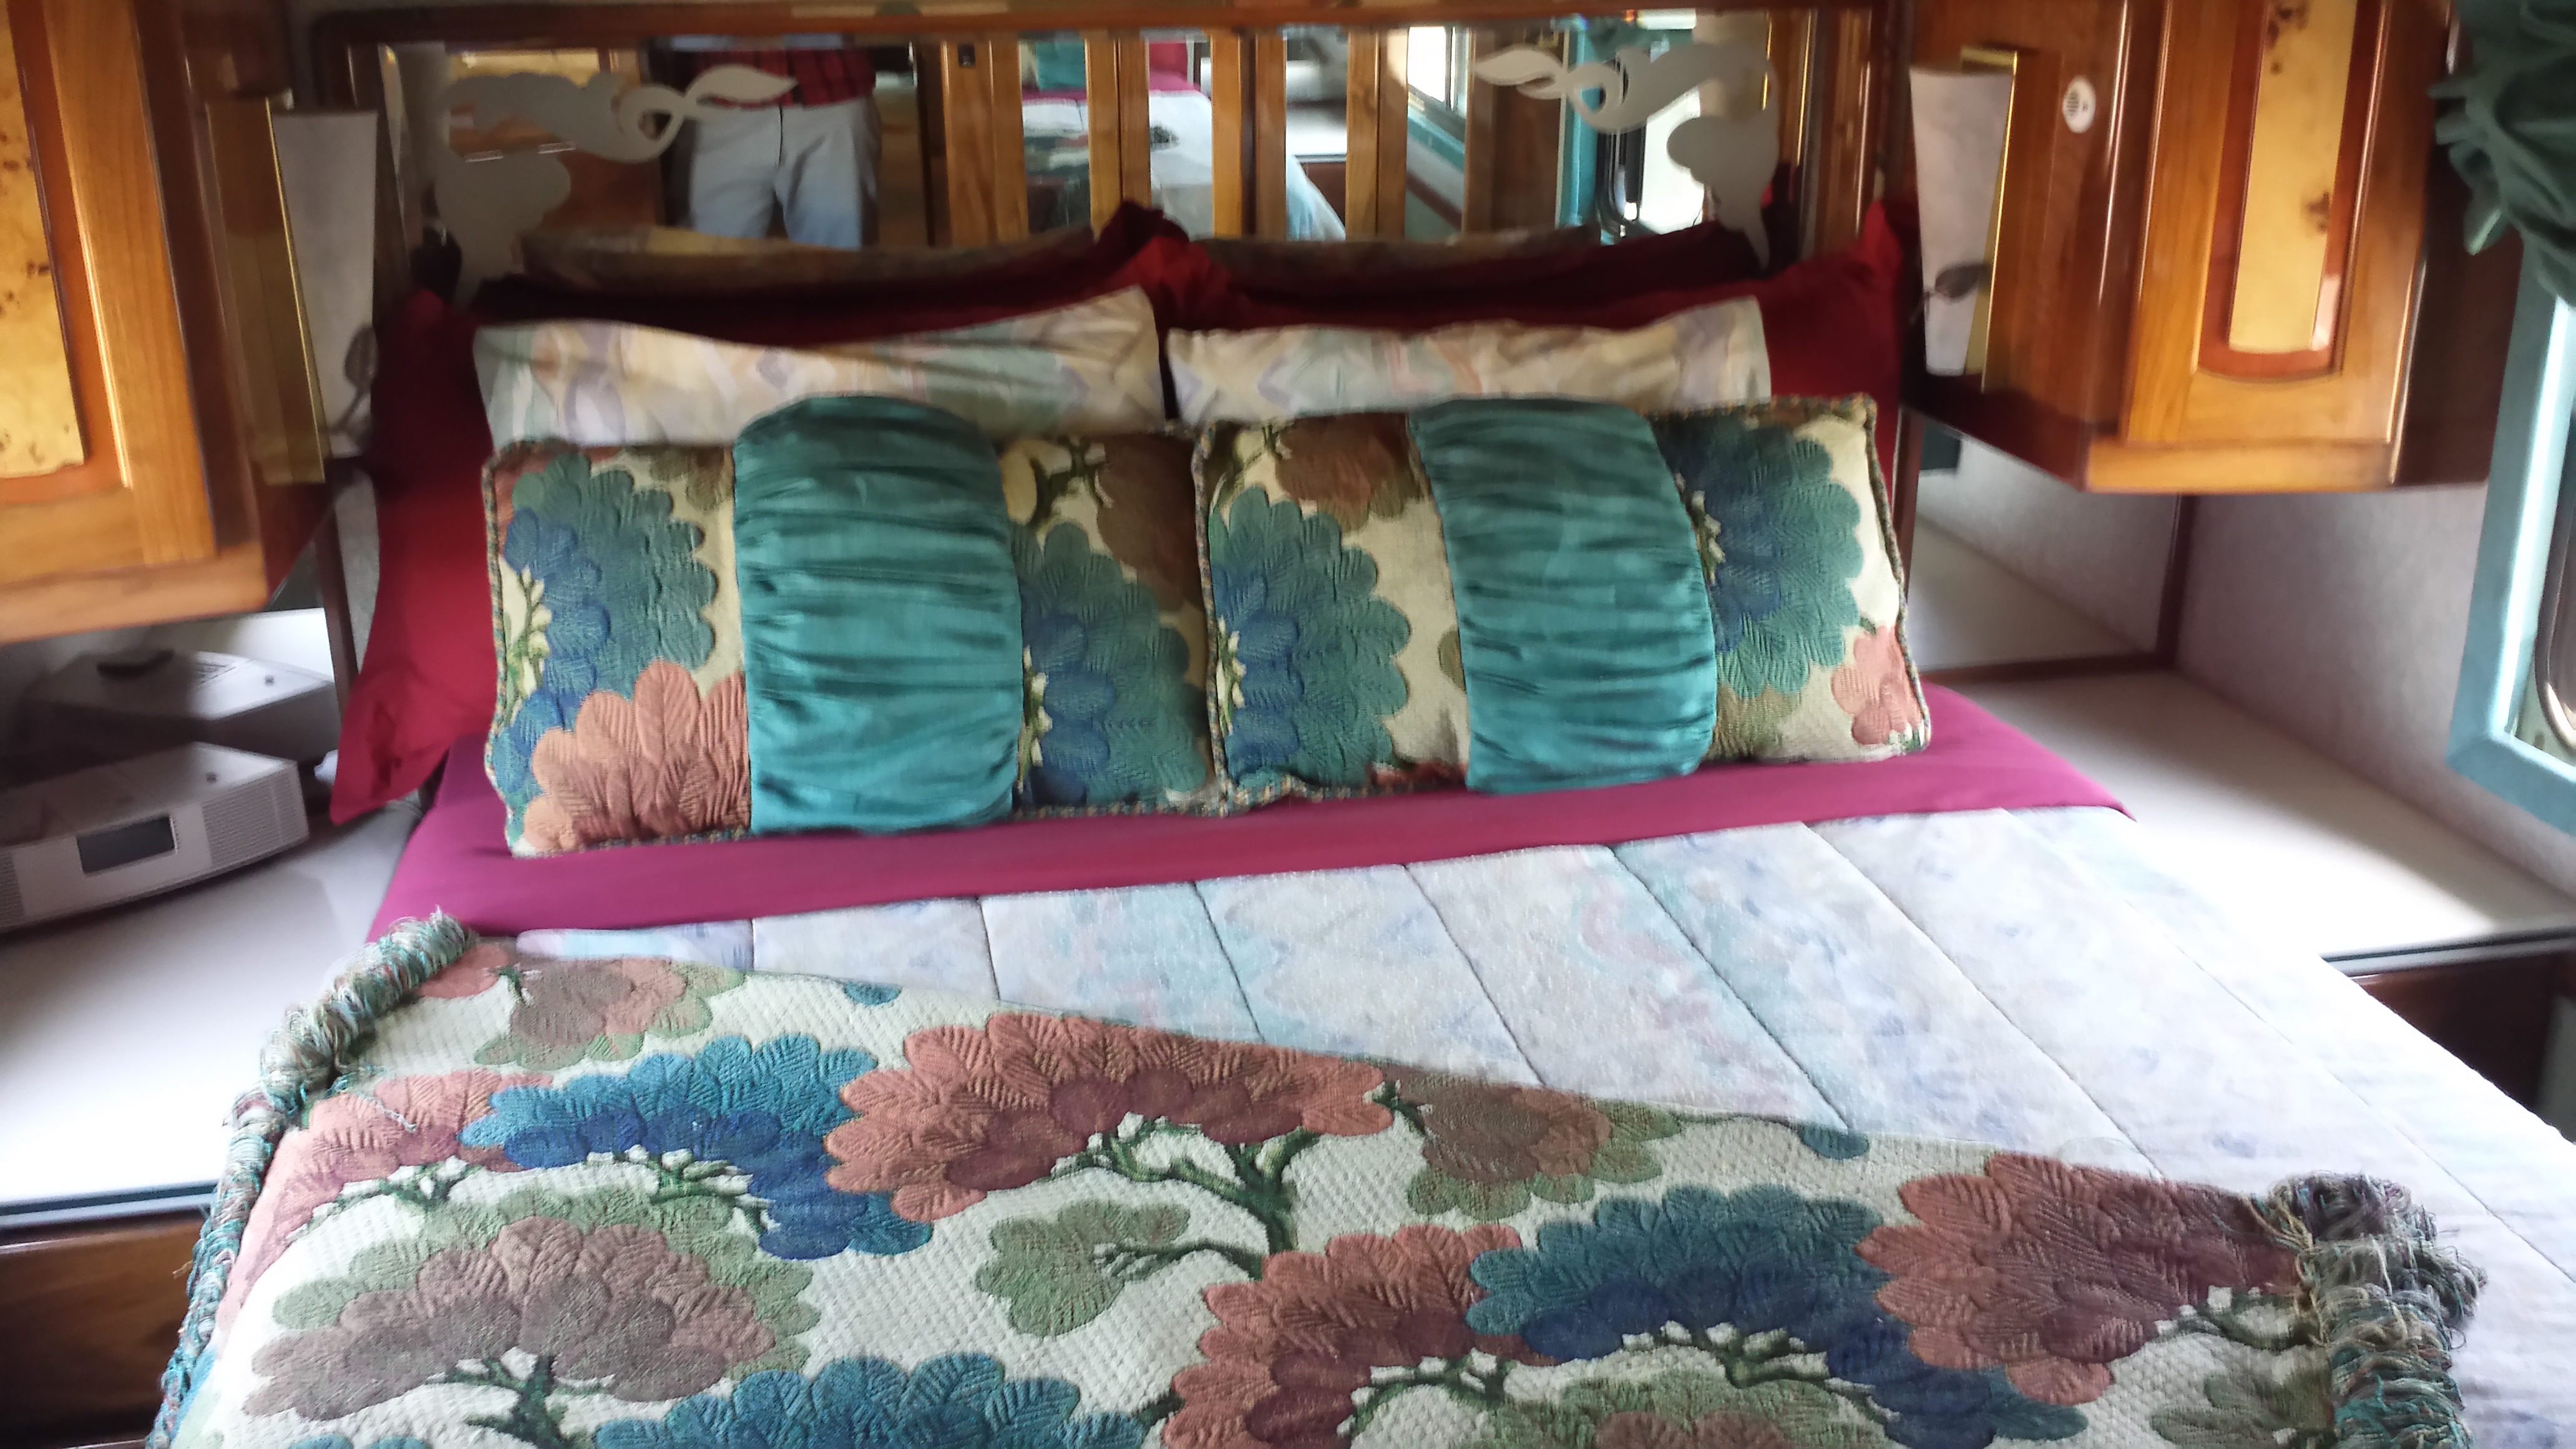
Below is a picture of the original bedroom bed area. Notice the two side
cabinets line up pretty nearly with the edge of the 60" wide bed.
There is also an incandescent light hovering above the bed on each side.
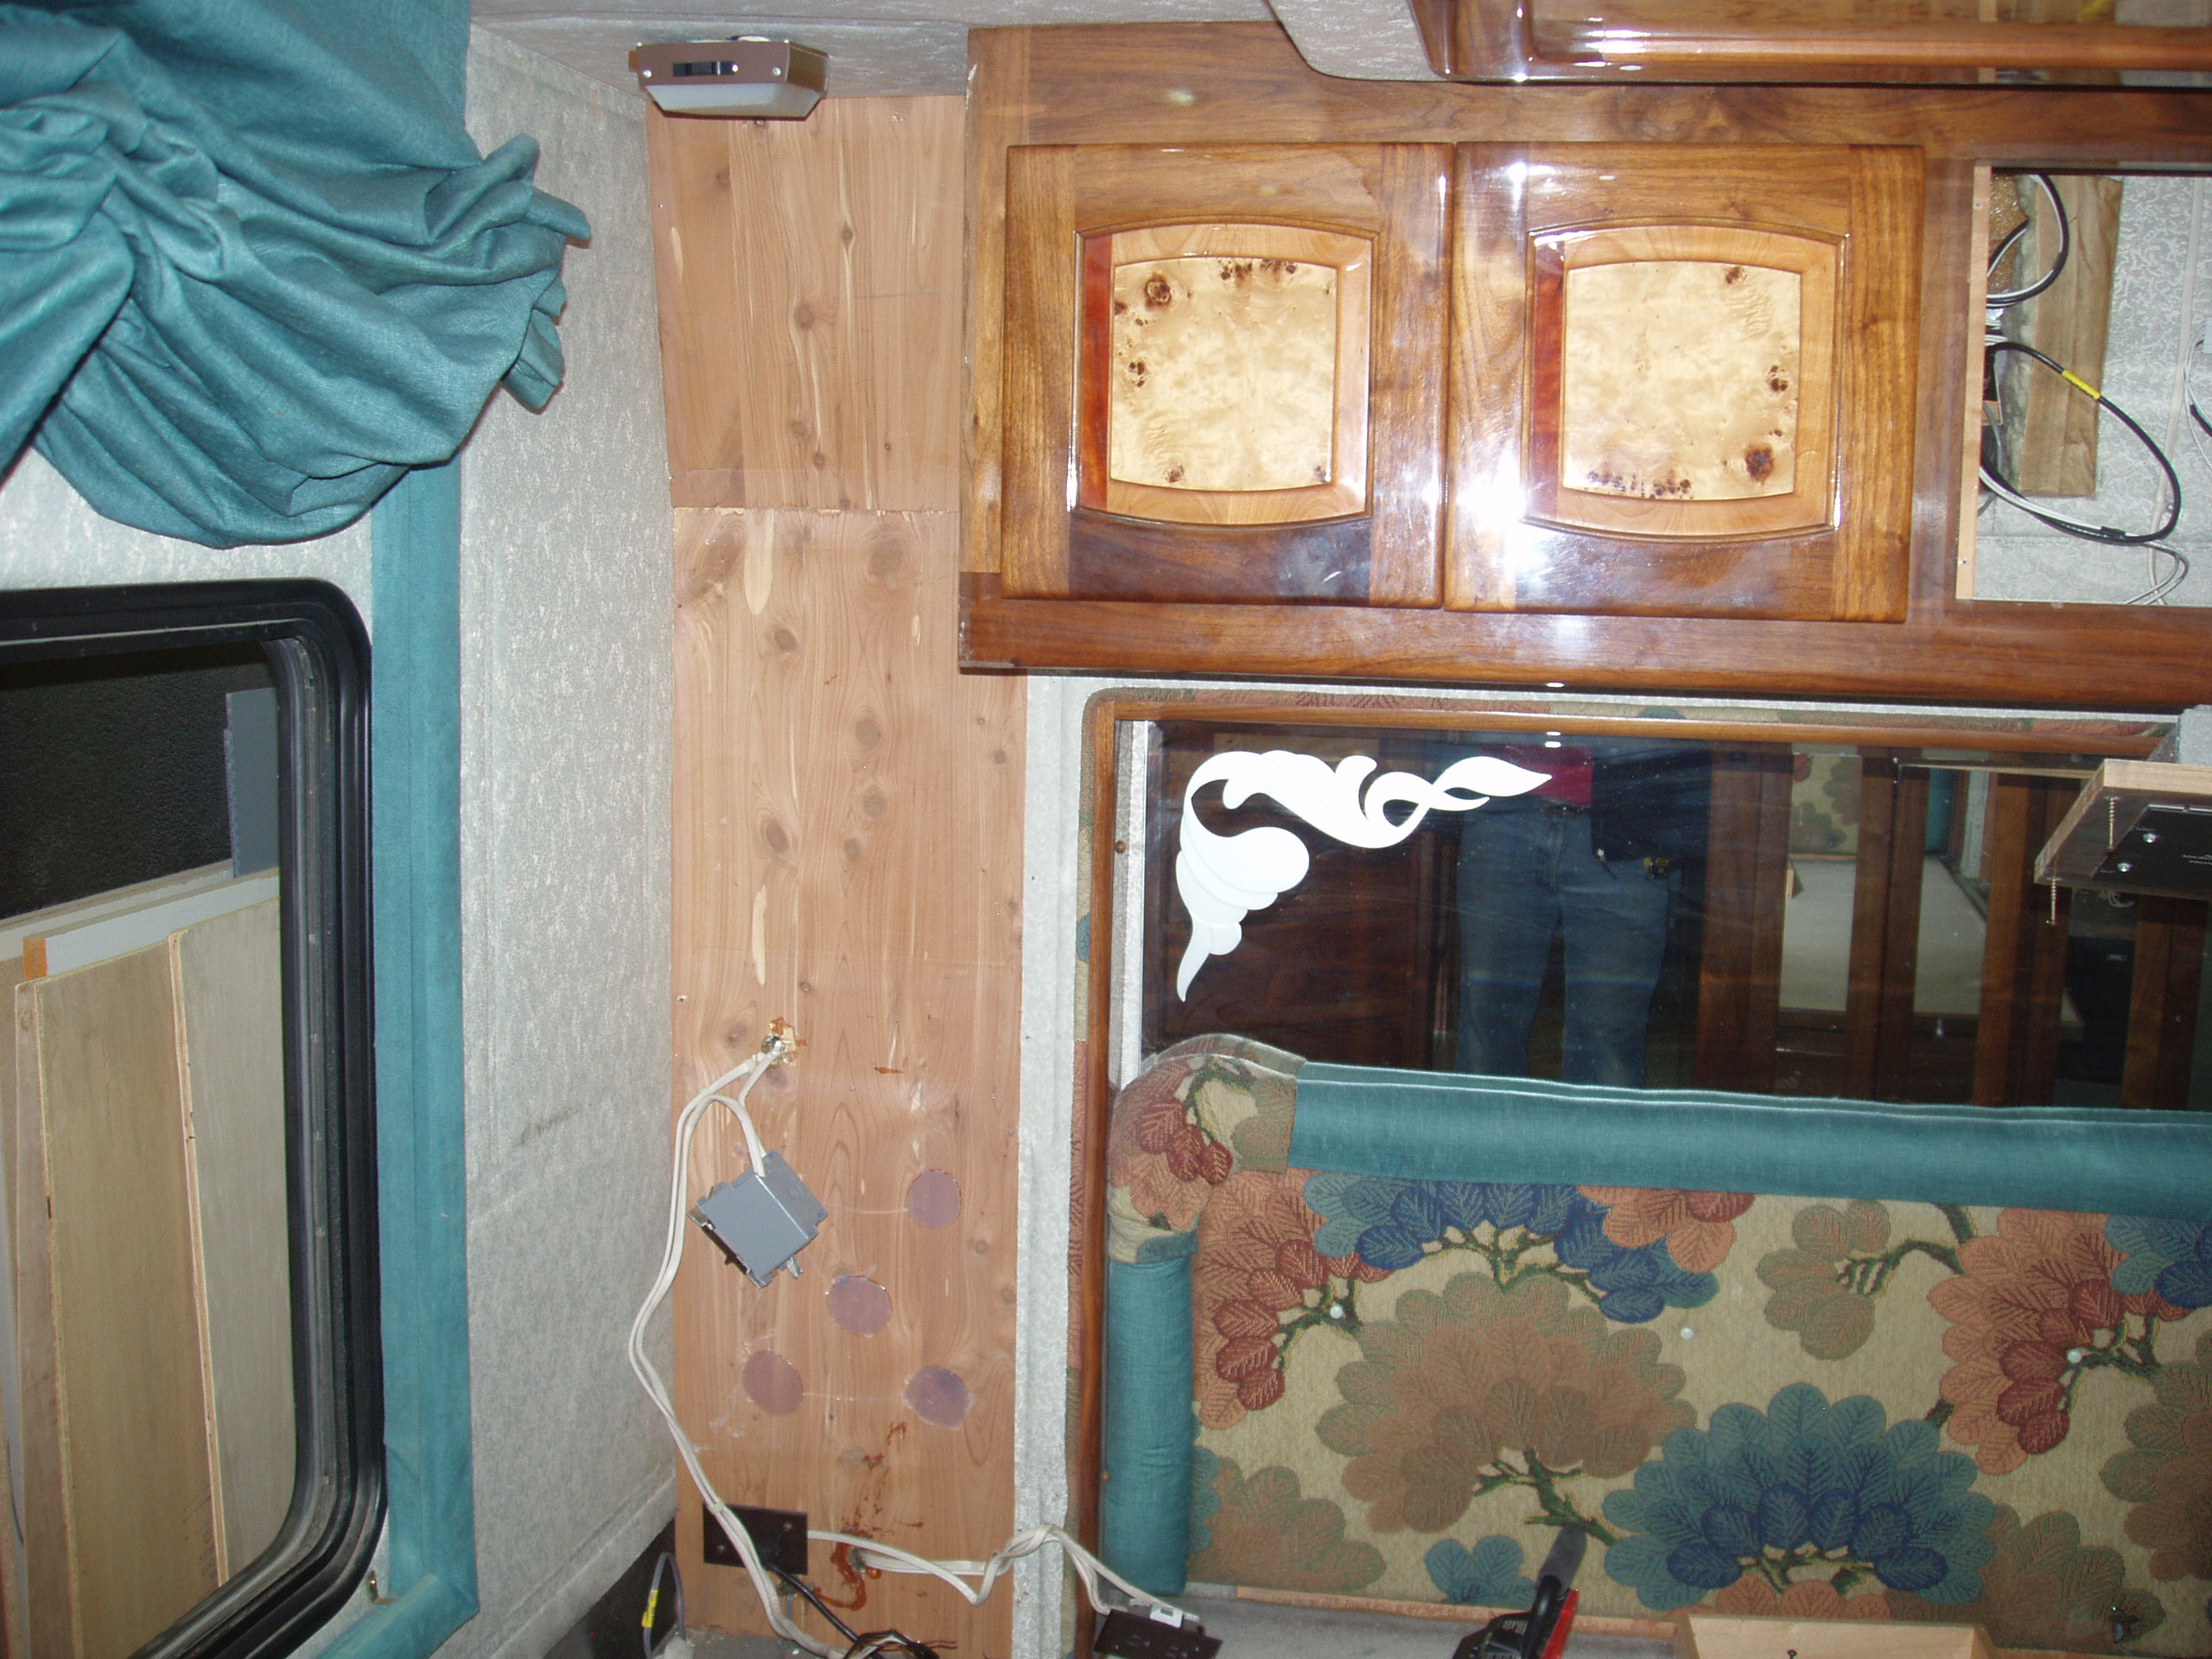
The bedroom remodel would have to include creating extra left to right horizontal space for the bed platform at the expense of the two corian topped side tables. Also the two cabinets on either side of the bed would have to be raised and all electronics moved along with the light fixtures. Here's a picture of some of the demolition work.
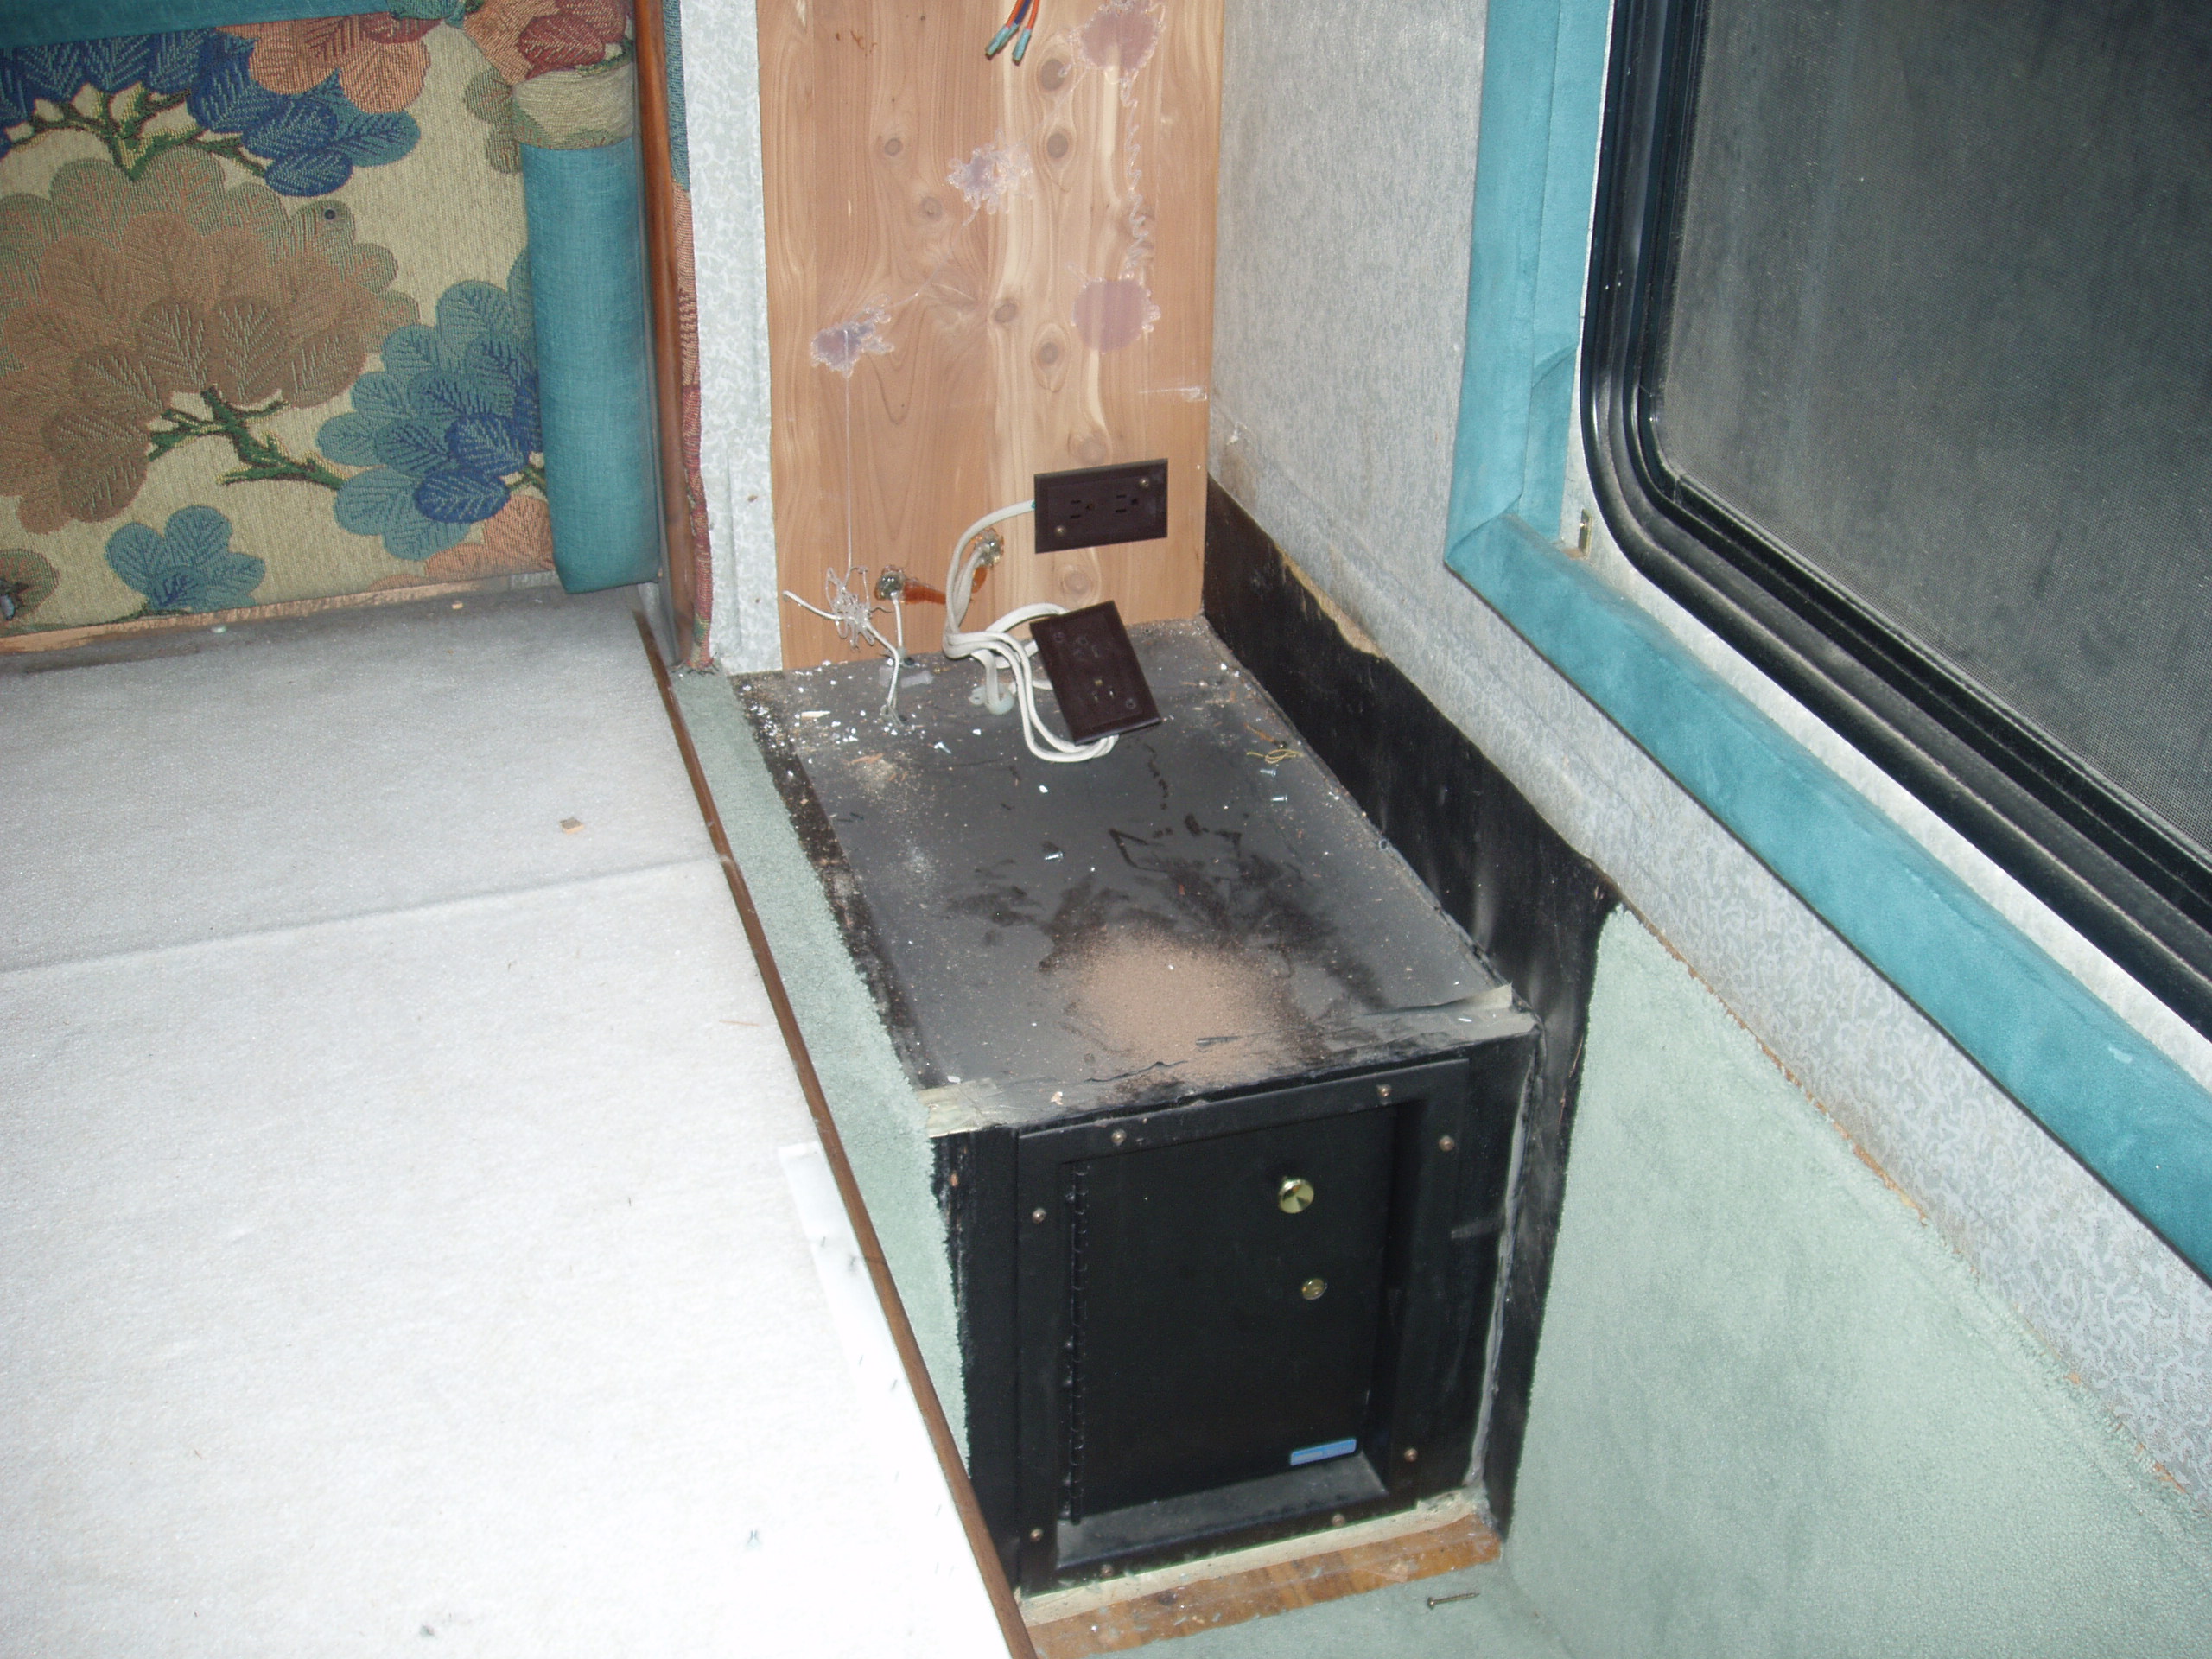
Above is a picture of the demolition of the right side cabinet area. It was determined that this area could remain as a useful area beneath the right nightstand. In other words the new bed decking could overlap this area slightly
.
This image shows the various electrical hookups. Not a single light, switch, or outlet was lost during the remodel.

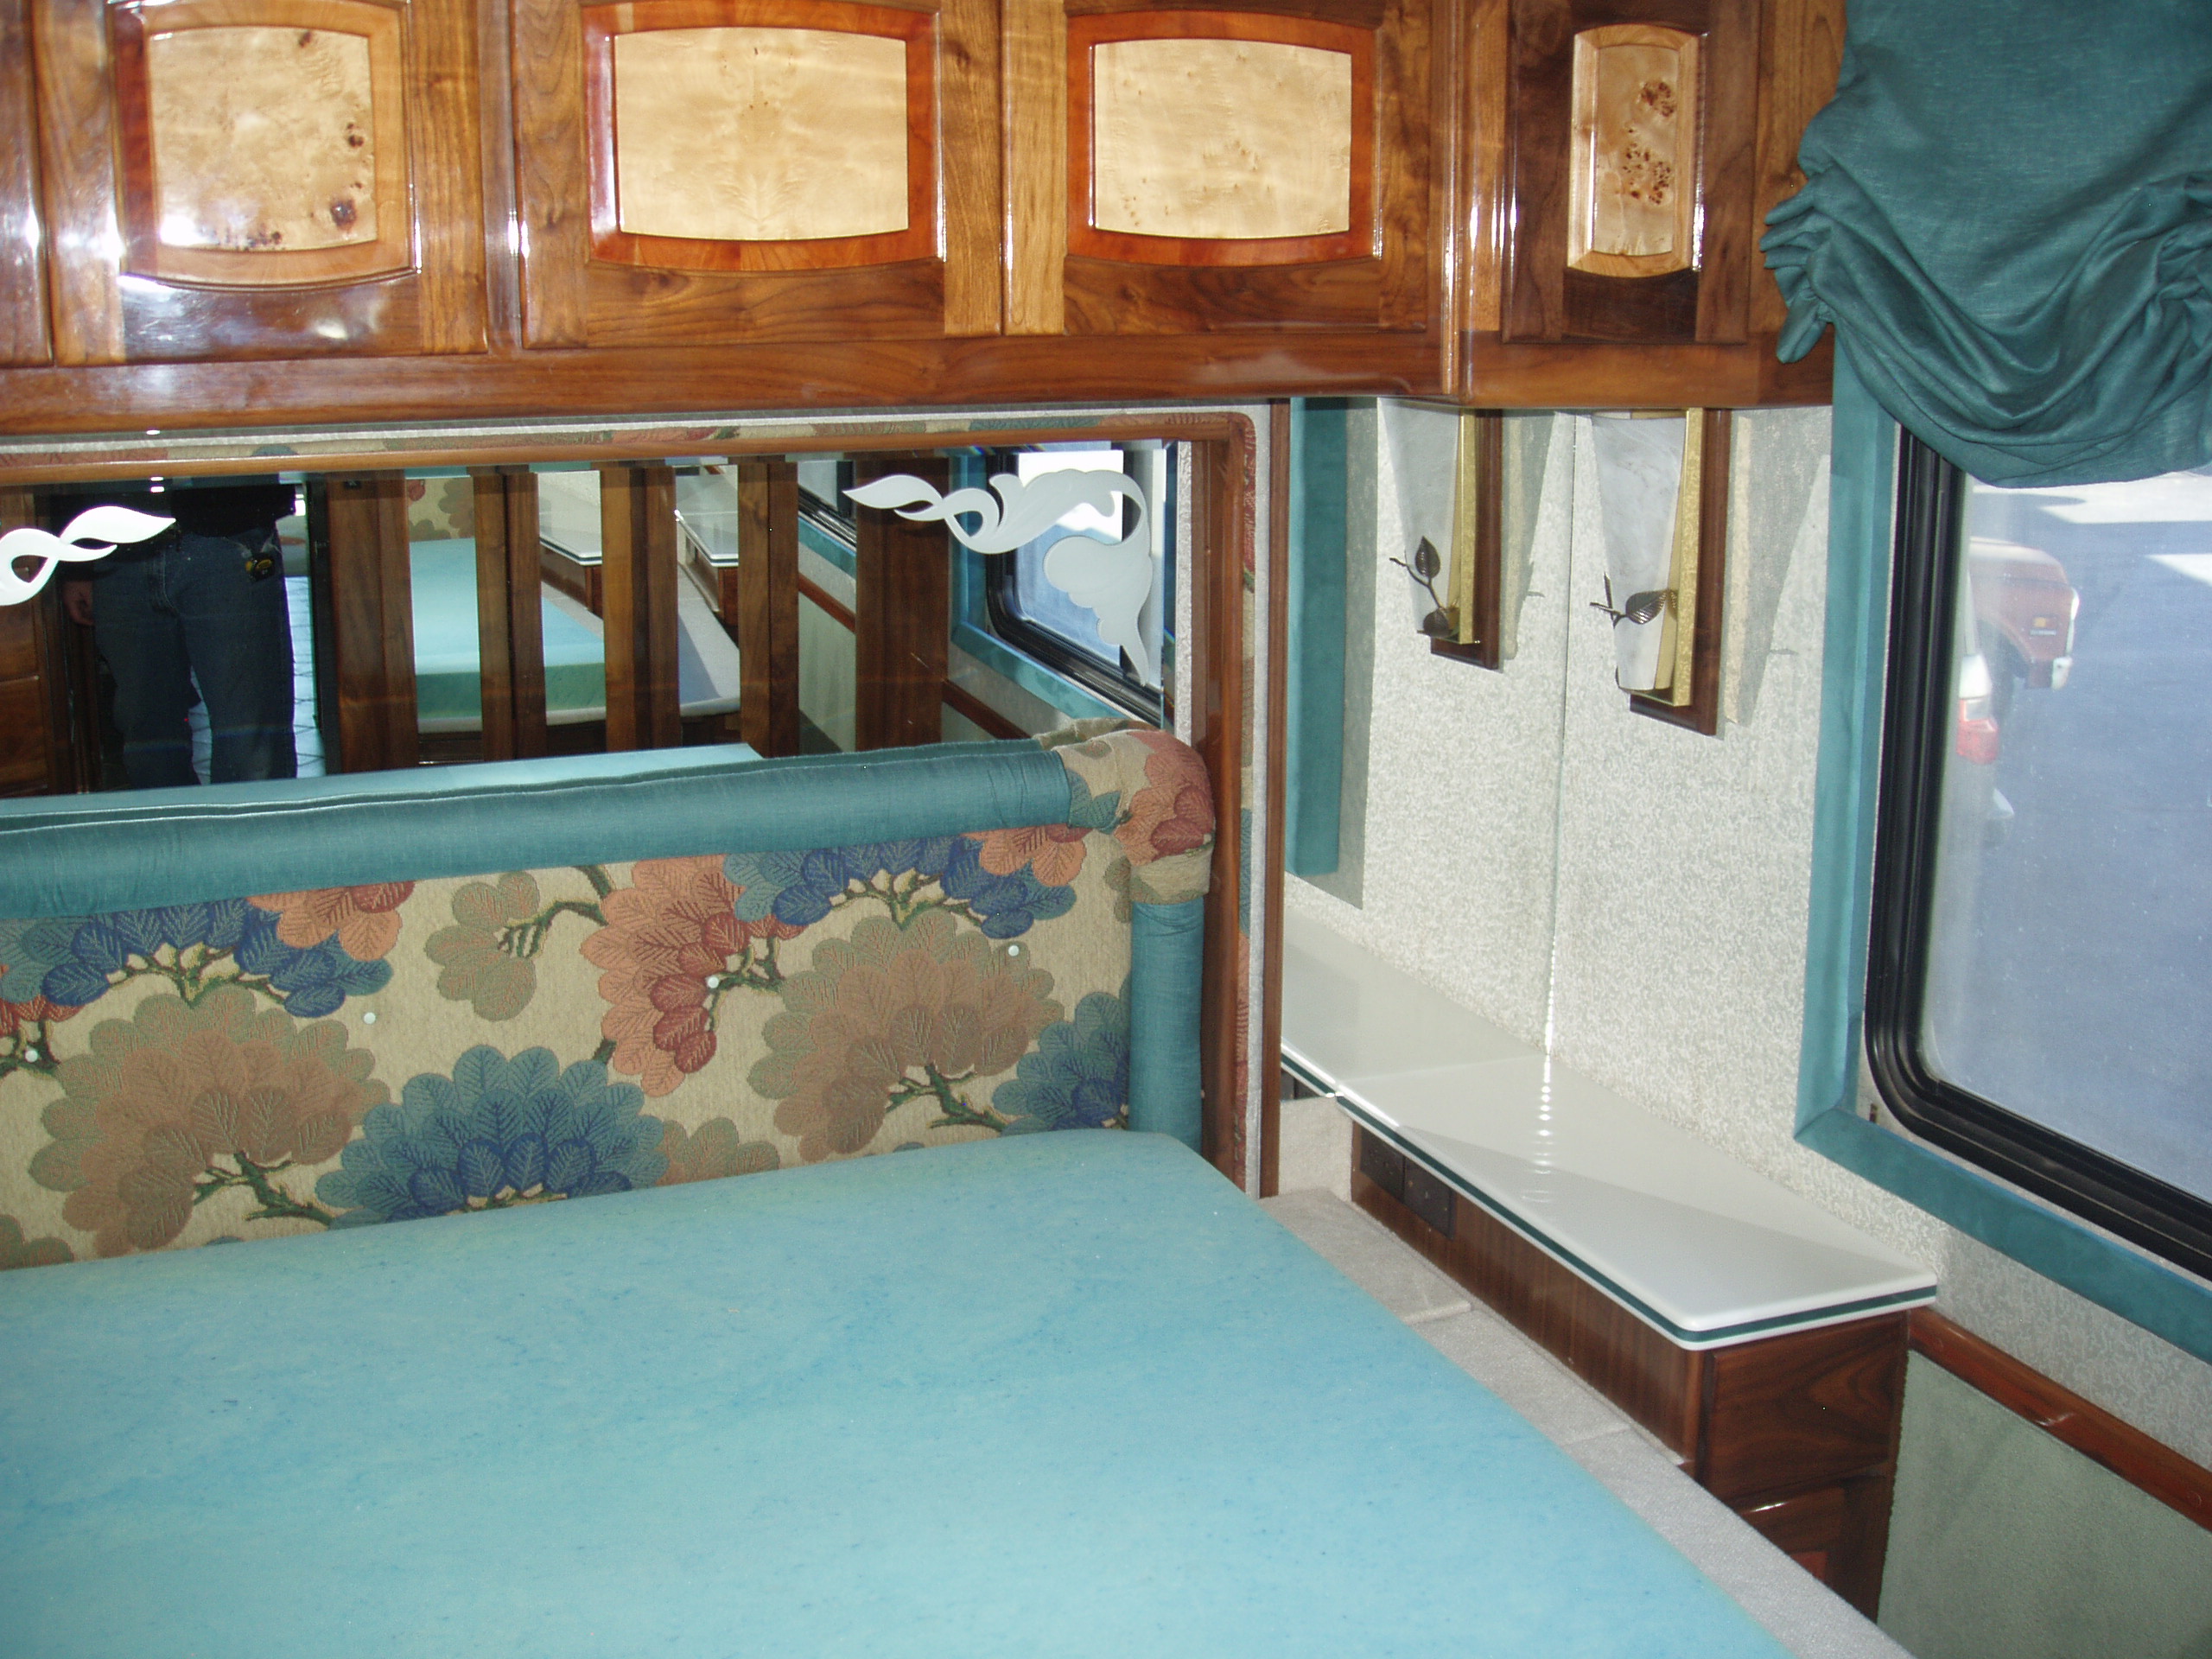
After completion a mirror replaces the left over cabinet backing on the wall. The side table corian top was cut down and is actually removable to allow storage beneath. The cut down corian still allows the original Bose radio to sit comfortably enough. The incandescent lighting was moved to the wall along with a nice walnut backing to hang it on. The mattress shown is a queen foam topper which was used prior to the remodel. All other lighting and switches were placed on the bottom of the upper side cabinets and are easily reachable and easier to see than the original switches were. We did have to have the custom mattresses made with a 45 degree cut out at the head because of the original indentation of the Queen Bed into its head board as can be seen from this picture.
The upper cabinets were created using the originals by shortening them and new doors were created using similar original materials. The new walnut is a bit darker than the original but RV Outfitters insists that walnut tends to lighten up within a few months.
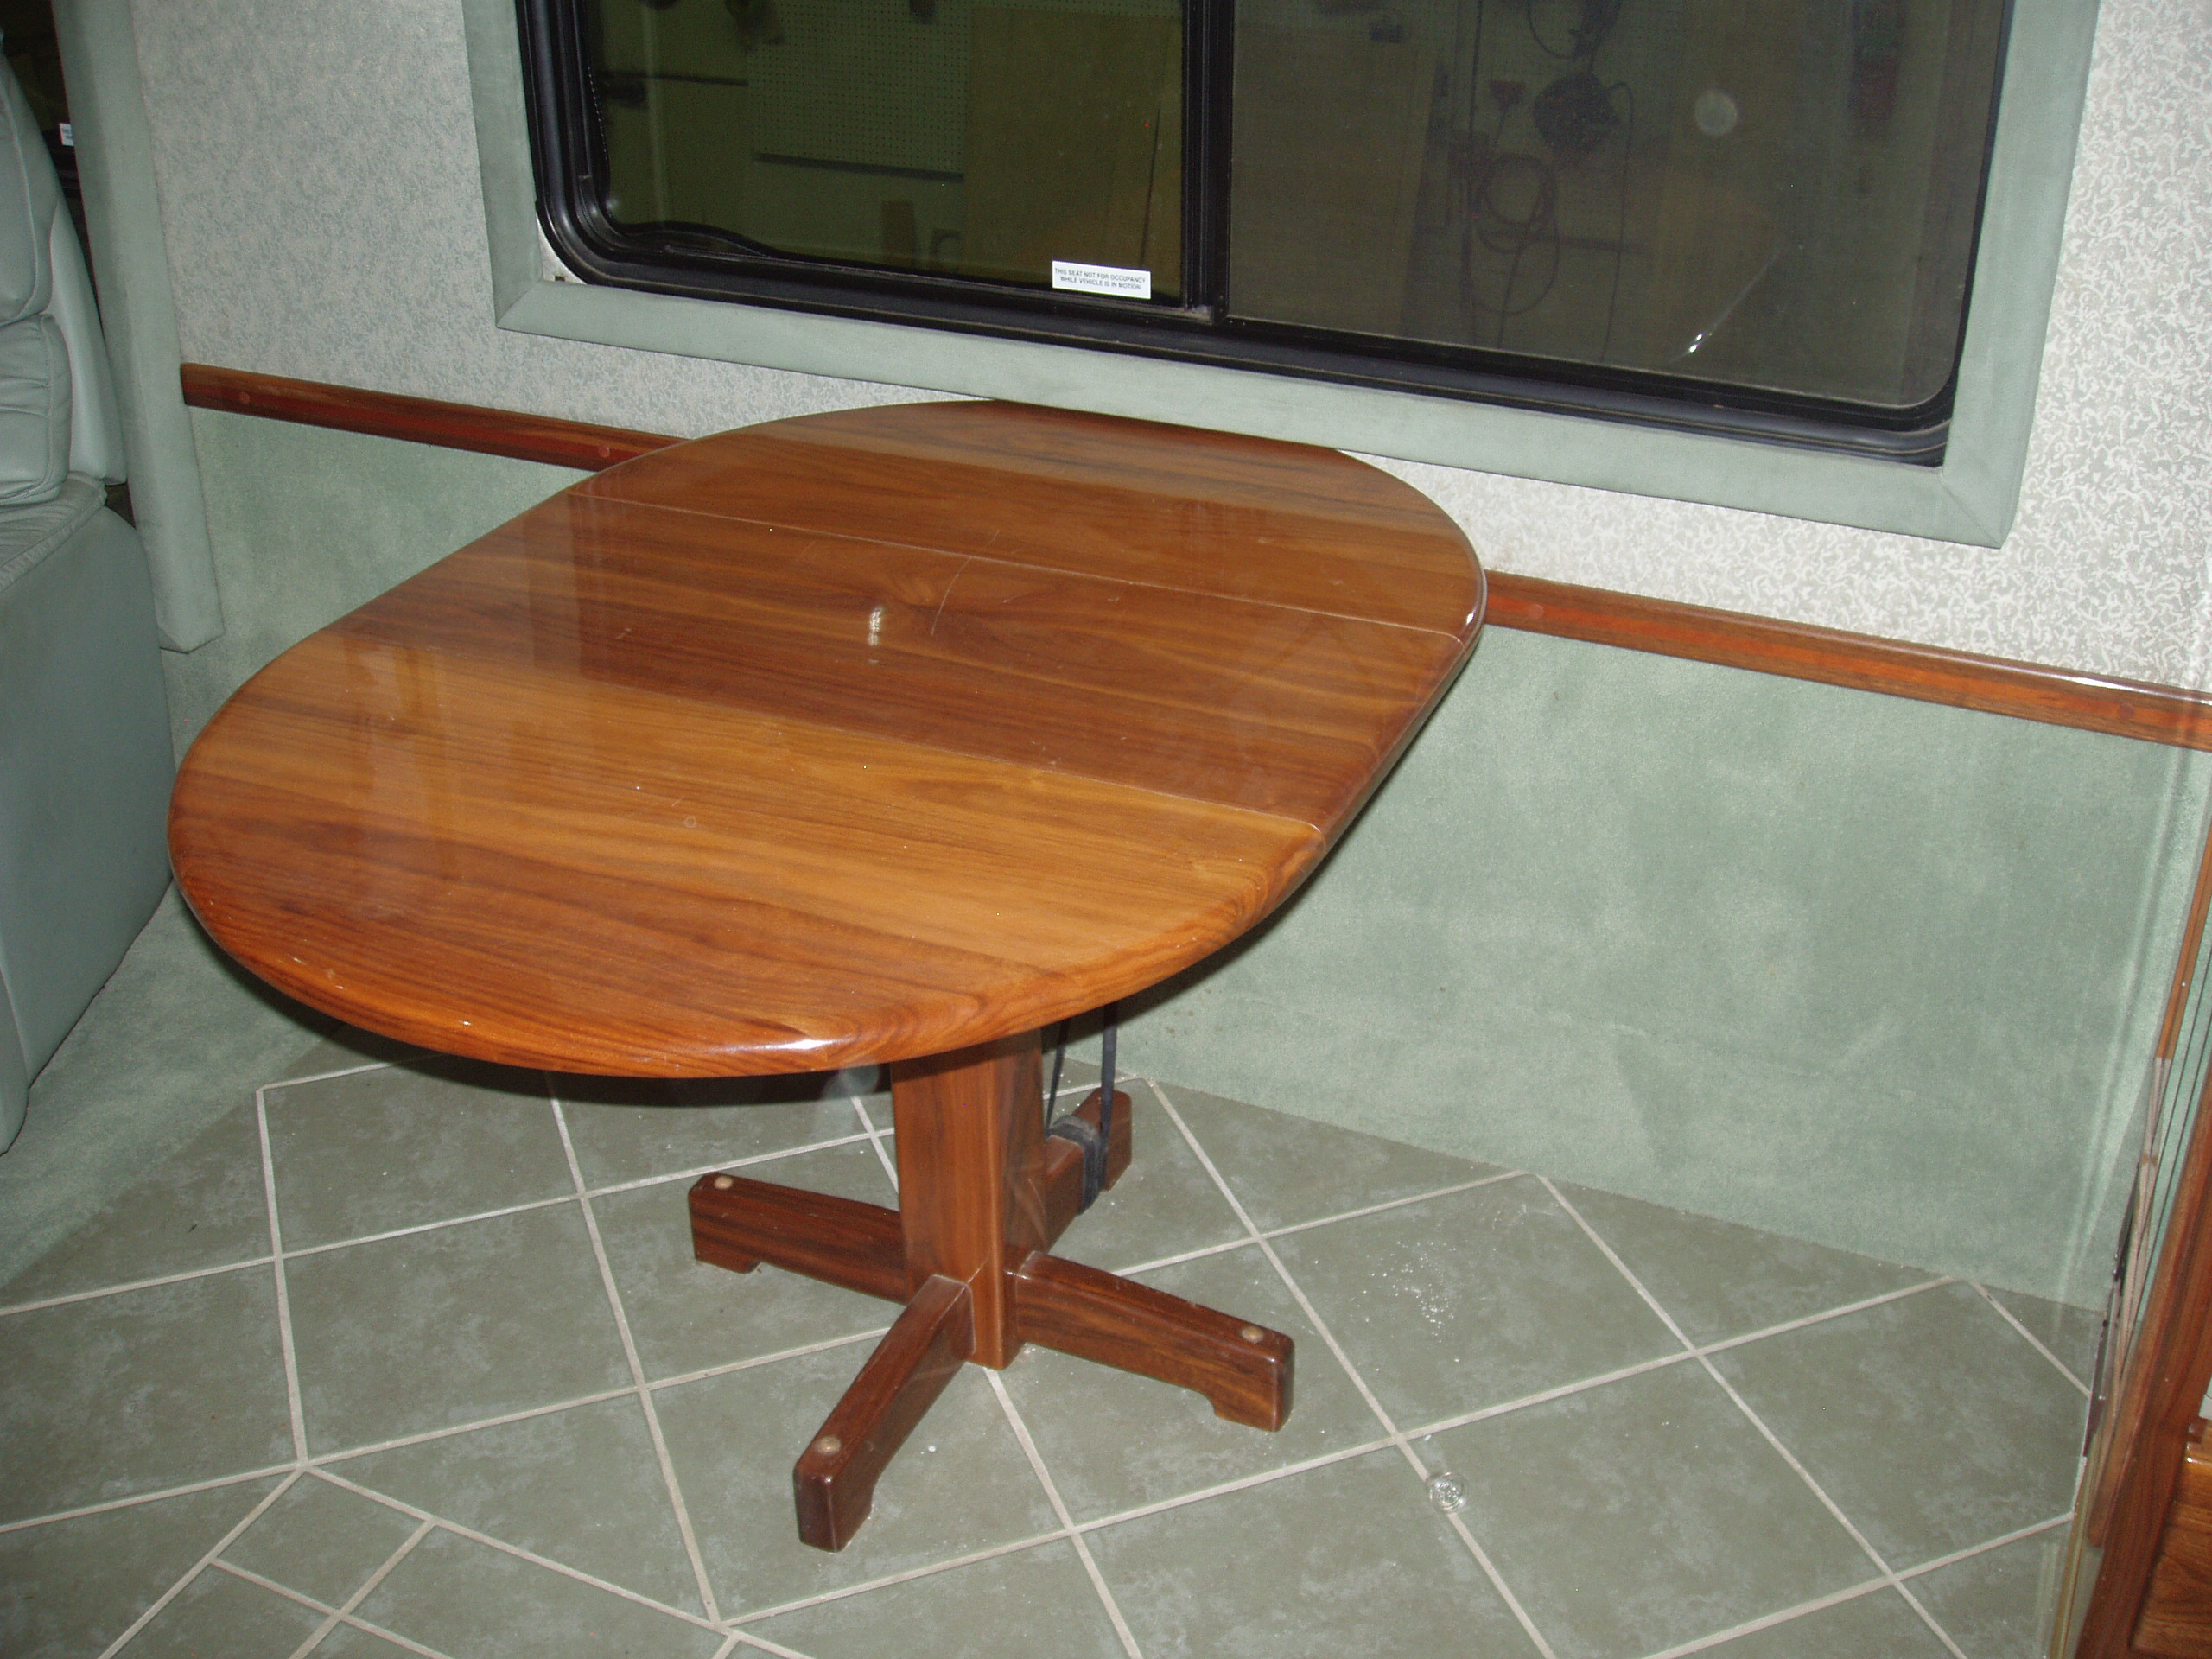
Next job was the removal of the existing legged table which has been a real knee knocker for both myself 6'3" tall, and my wife 6' tall and its replacement was a combination credenza/corian extendable table. The credenza will allow more storage as we begin a full-time journey. The demolition process included cutting off the lower curtain surround to allow the credenza to lie beneath the window and allow its full surface area to be used if necessary.
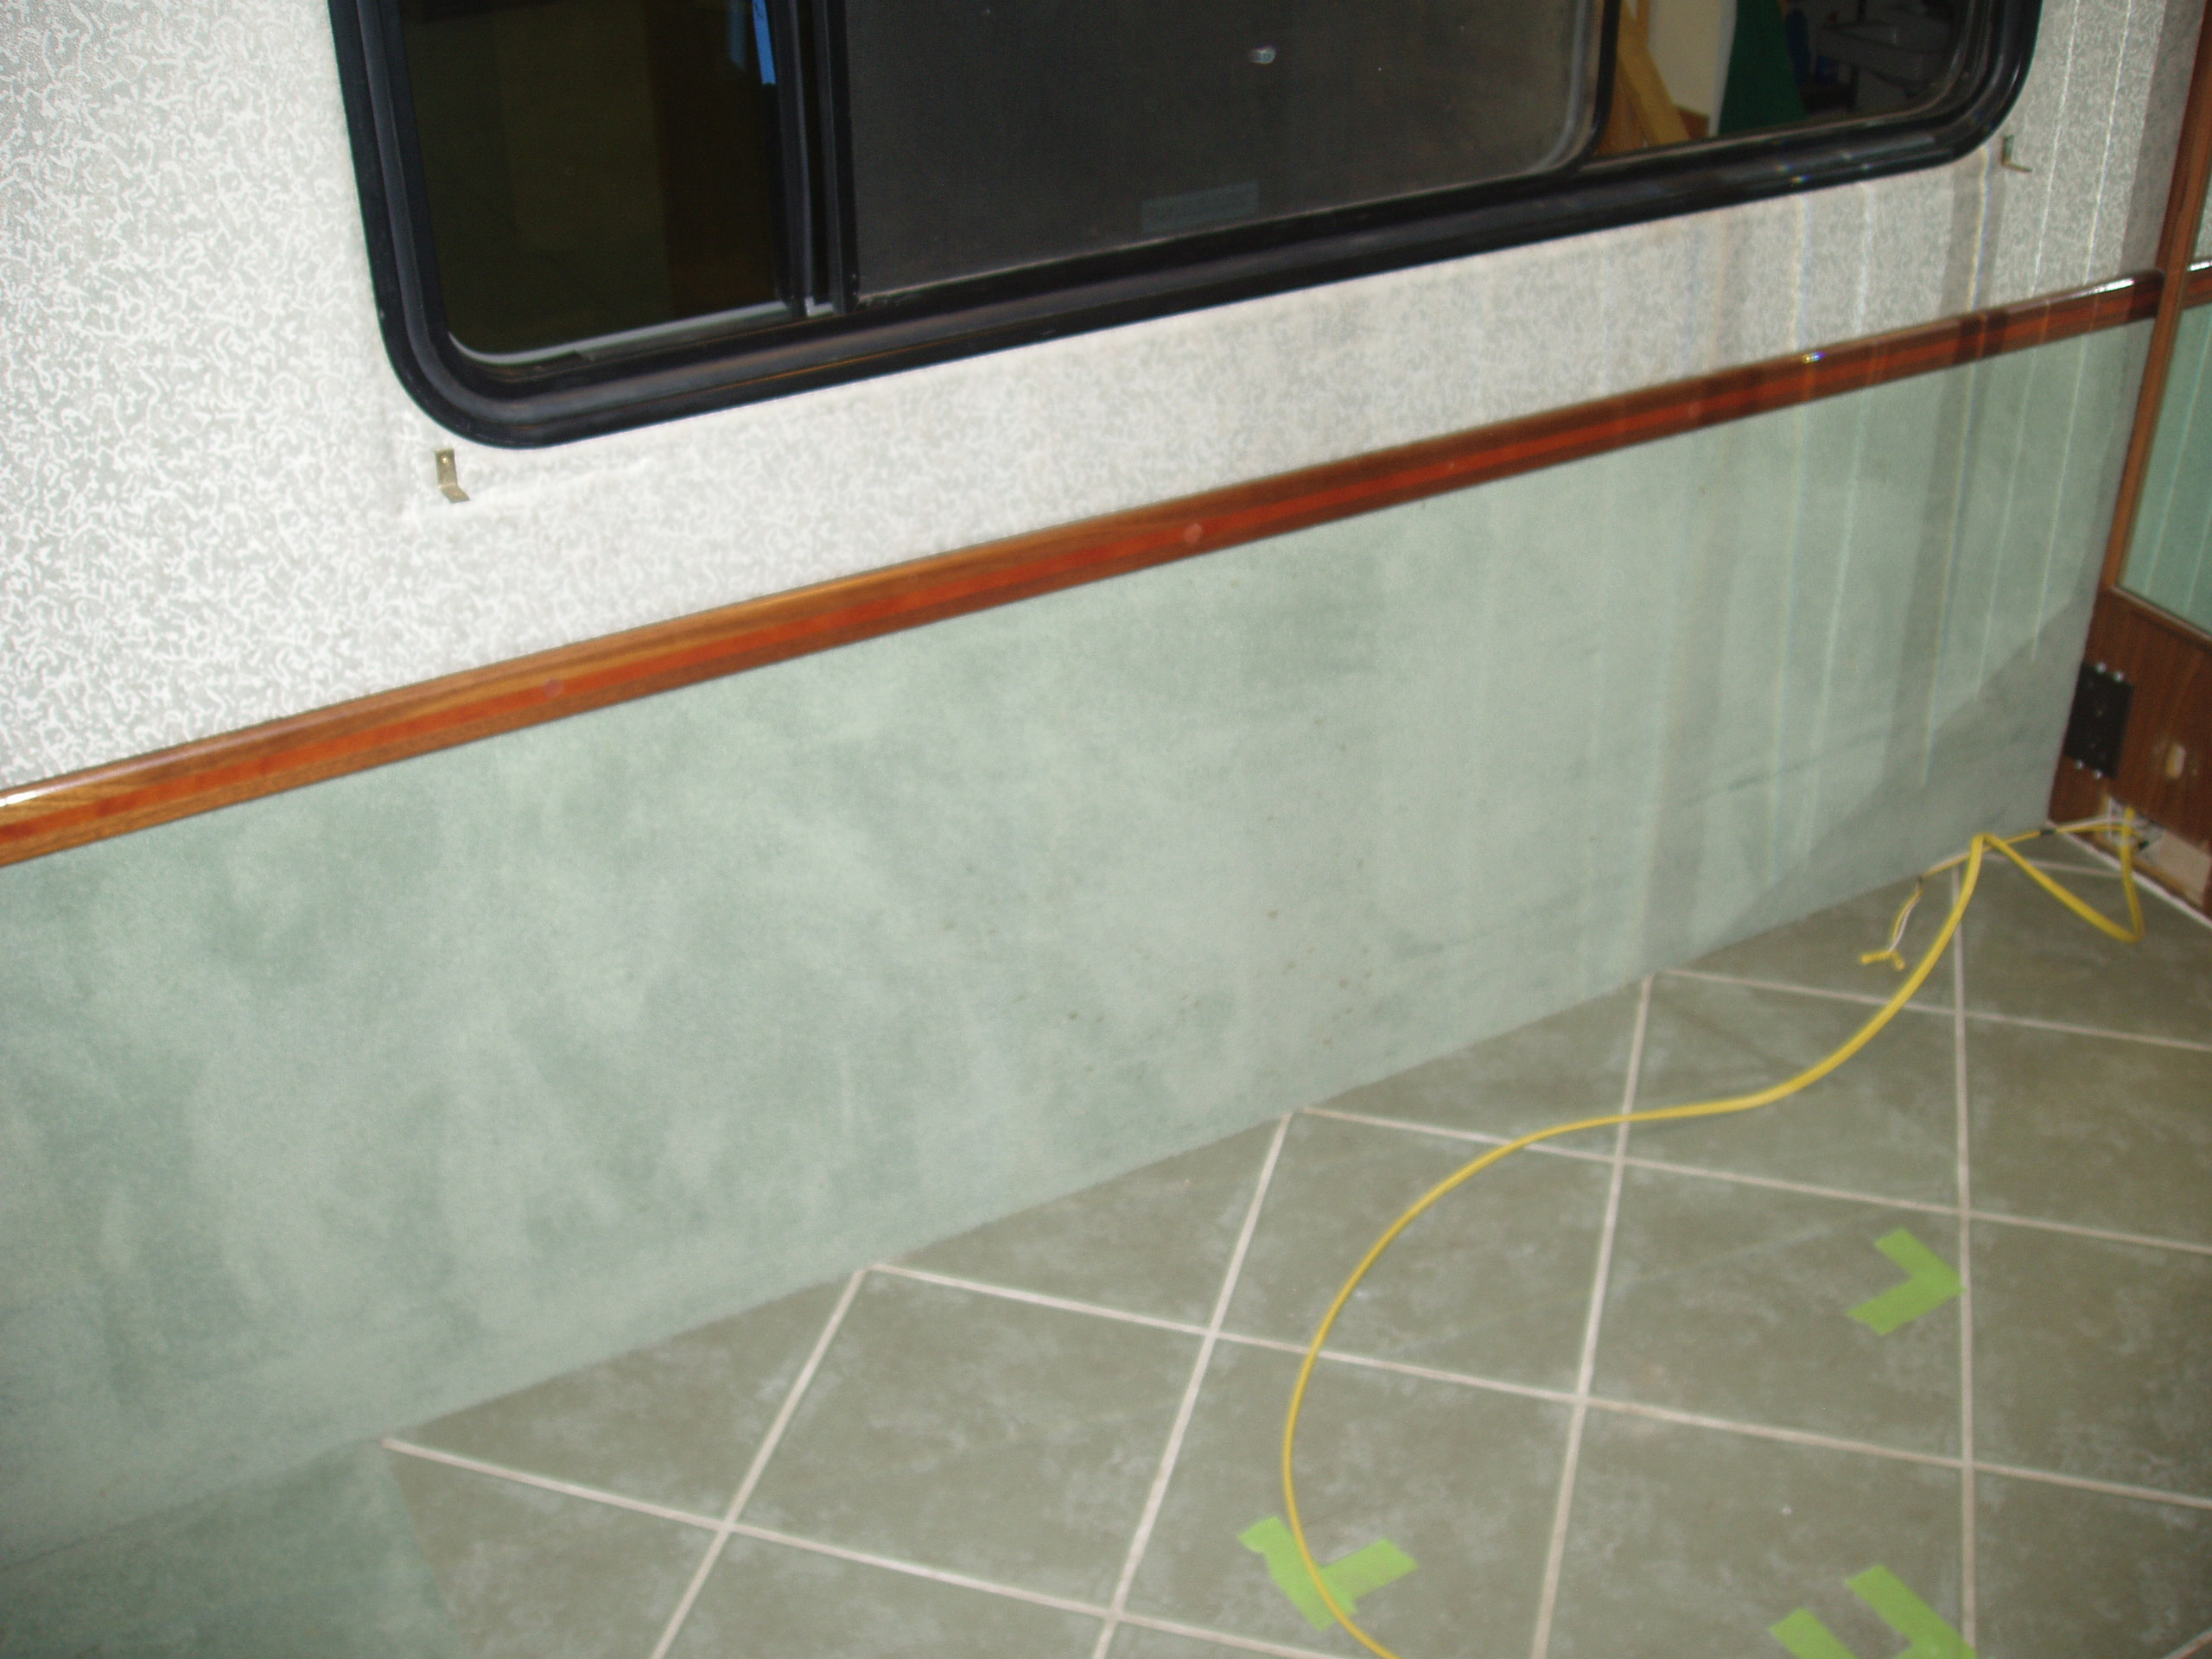
Additional considerations involved re-routing of AC electrical connections since the credenza would press against the mirrored wall and two outlets would be placed within the credenza (both driven from the inverter circuit). The window coverings were removed, and in fact all of our windows which showed "snaking" (4) were removed during the remodel and resealed.
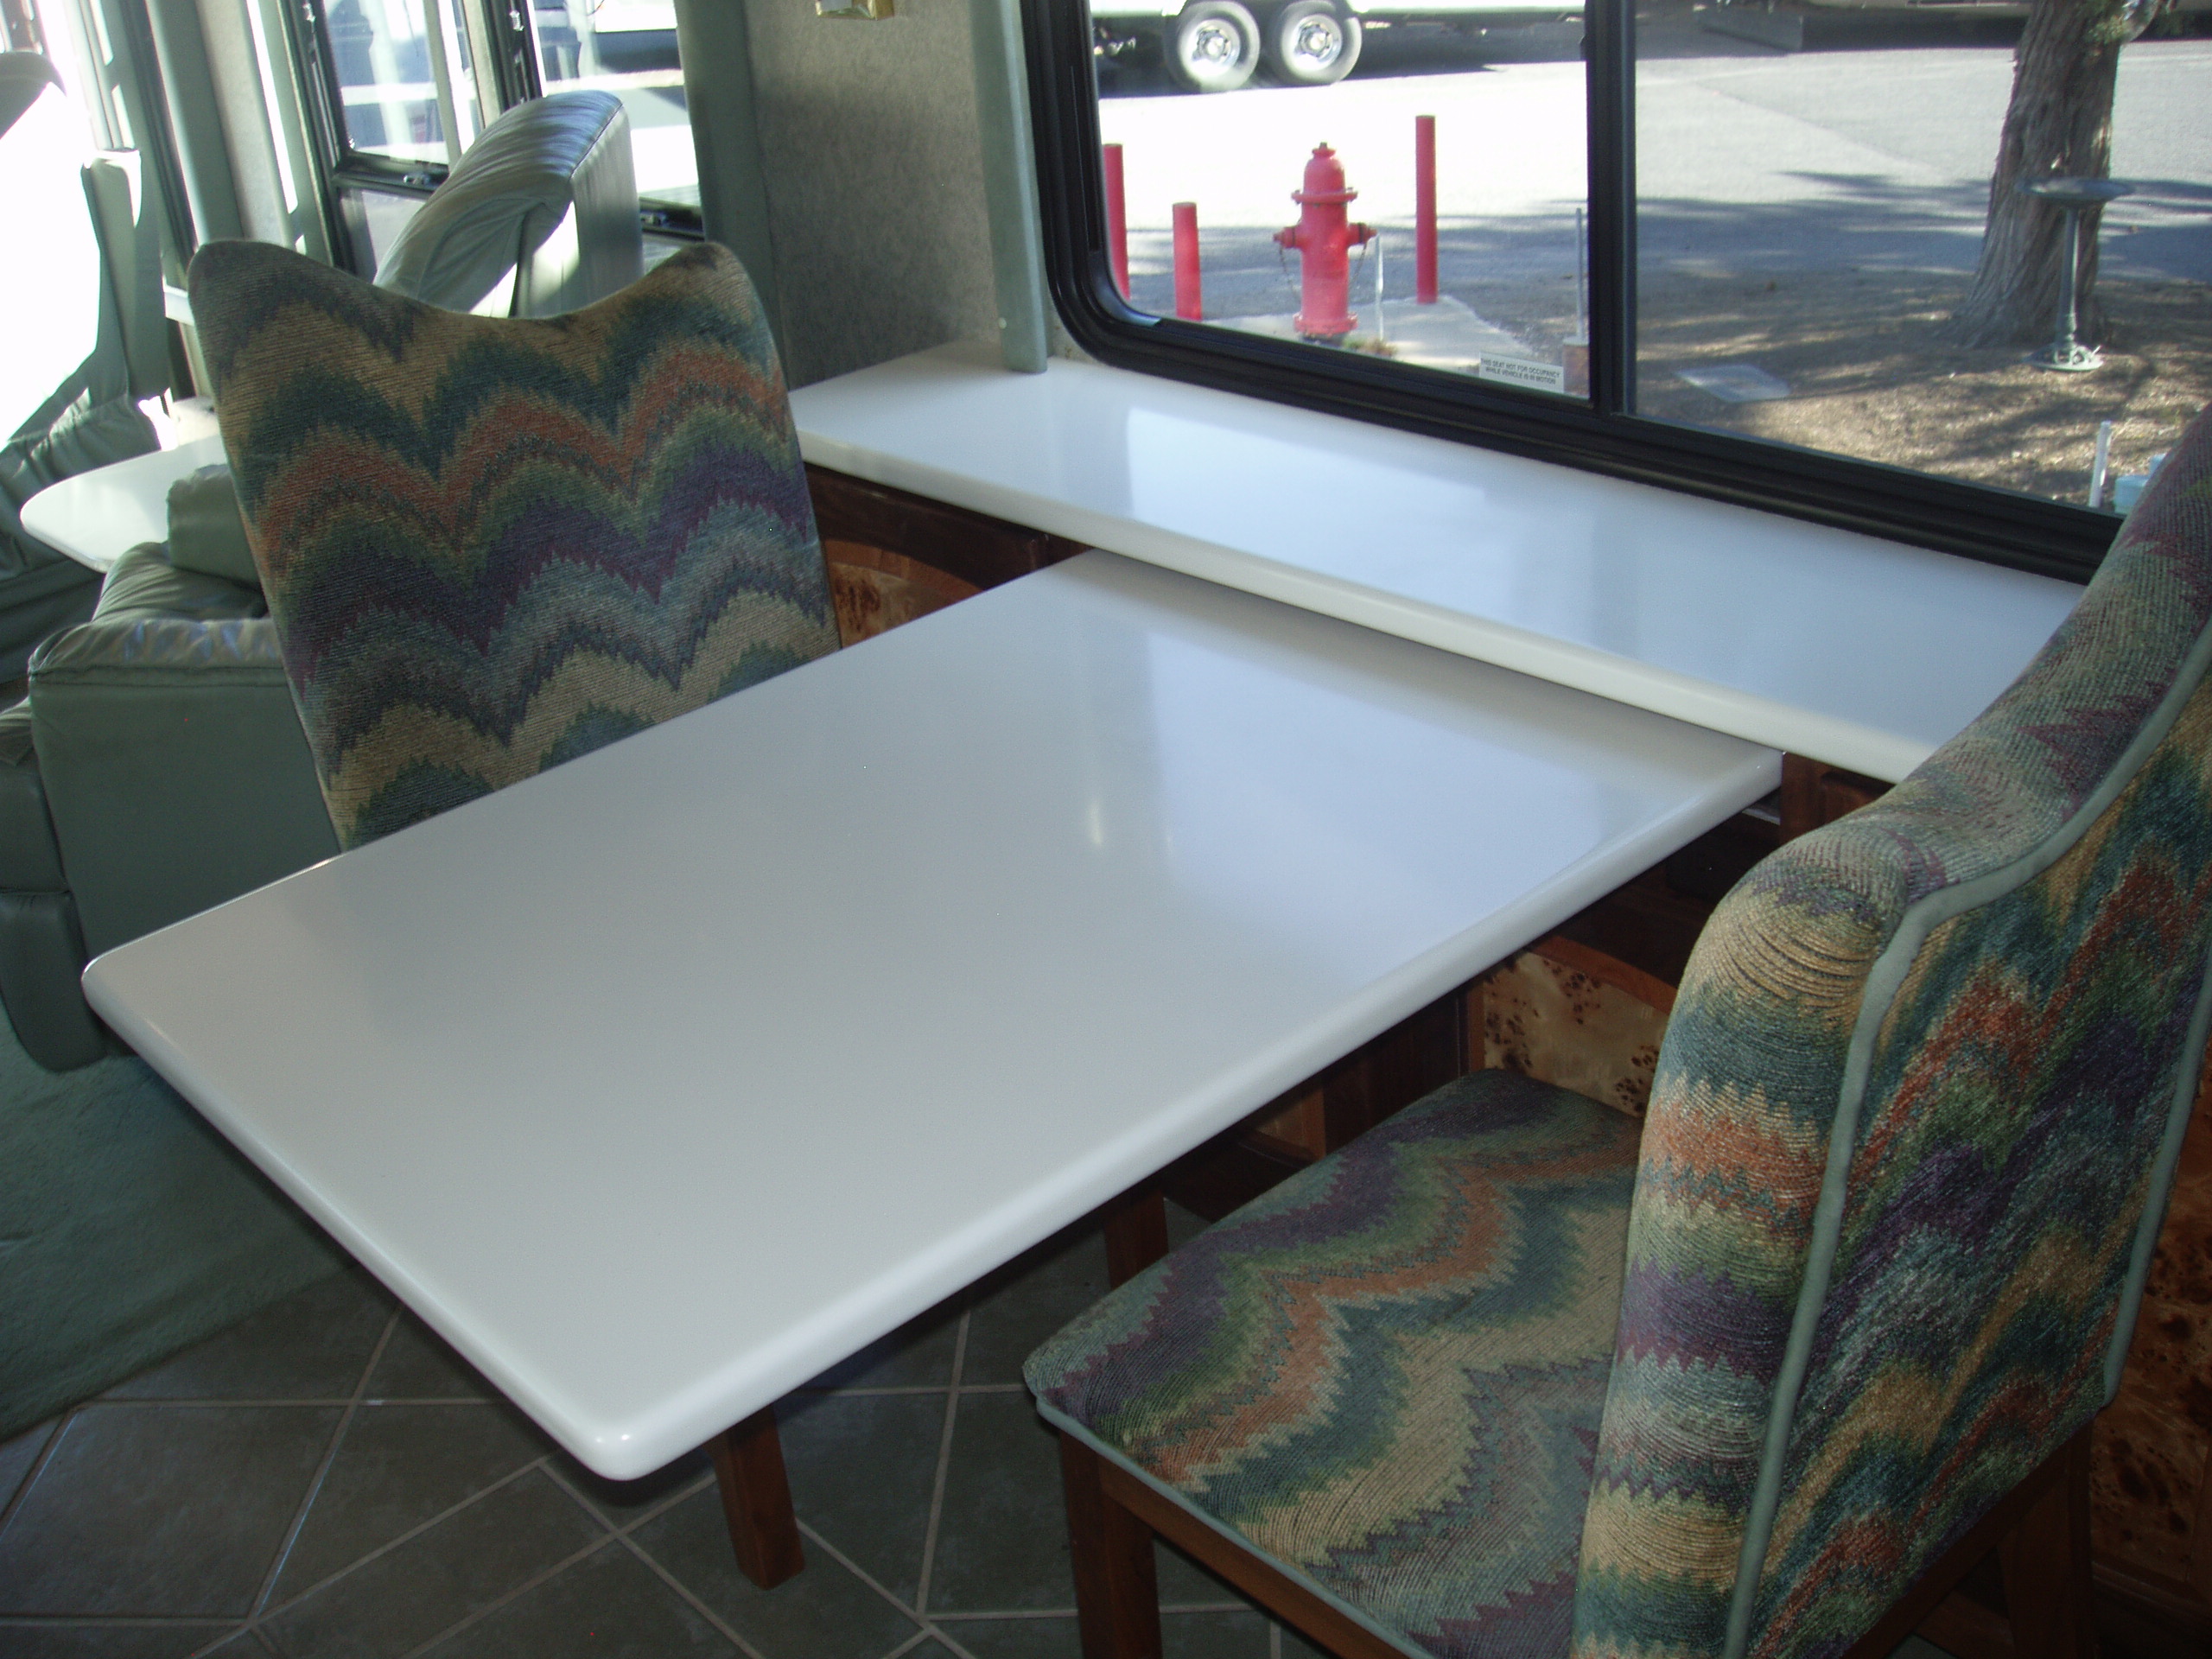
The finished Credenza/pull out table along with original chairs. No more bumping the chairs or our knees against the table legs! The credenza has 2 AC outlets along with 4 cabinets matching the original woodwork in the coach.
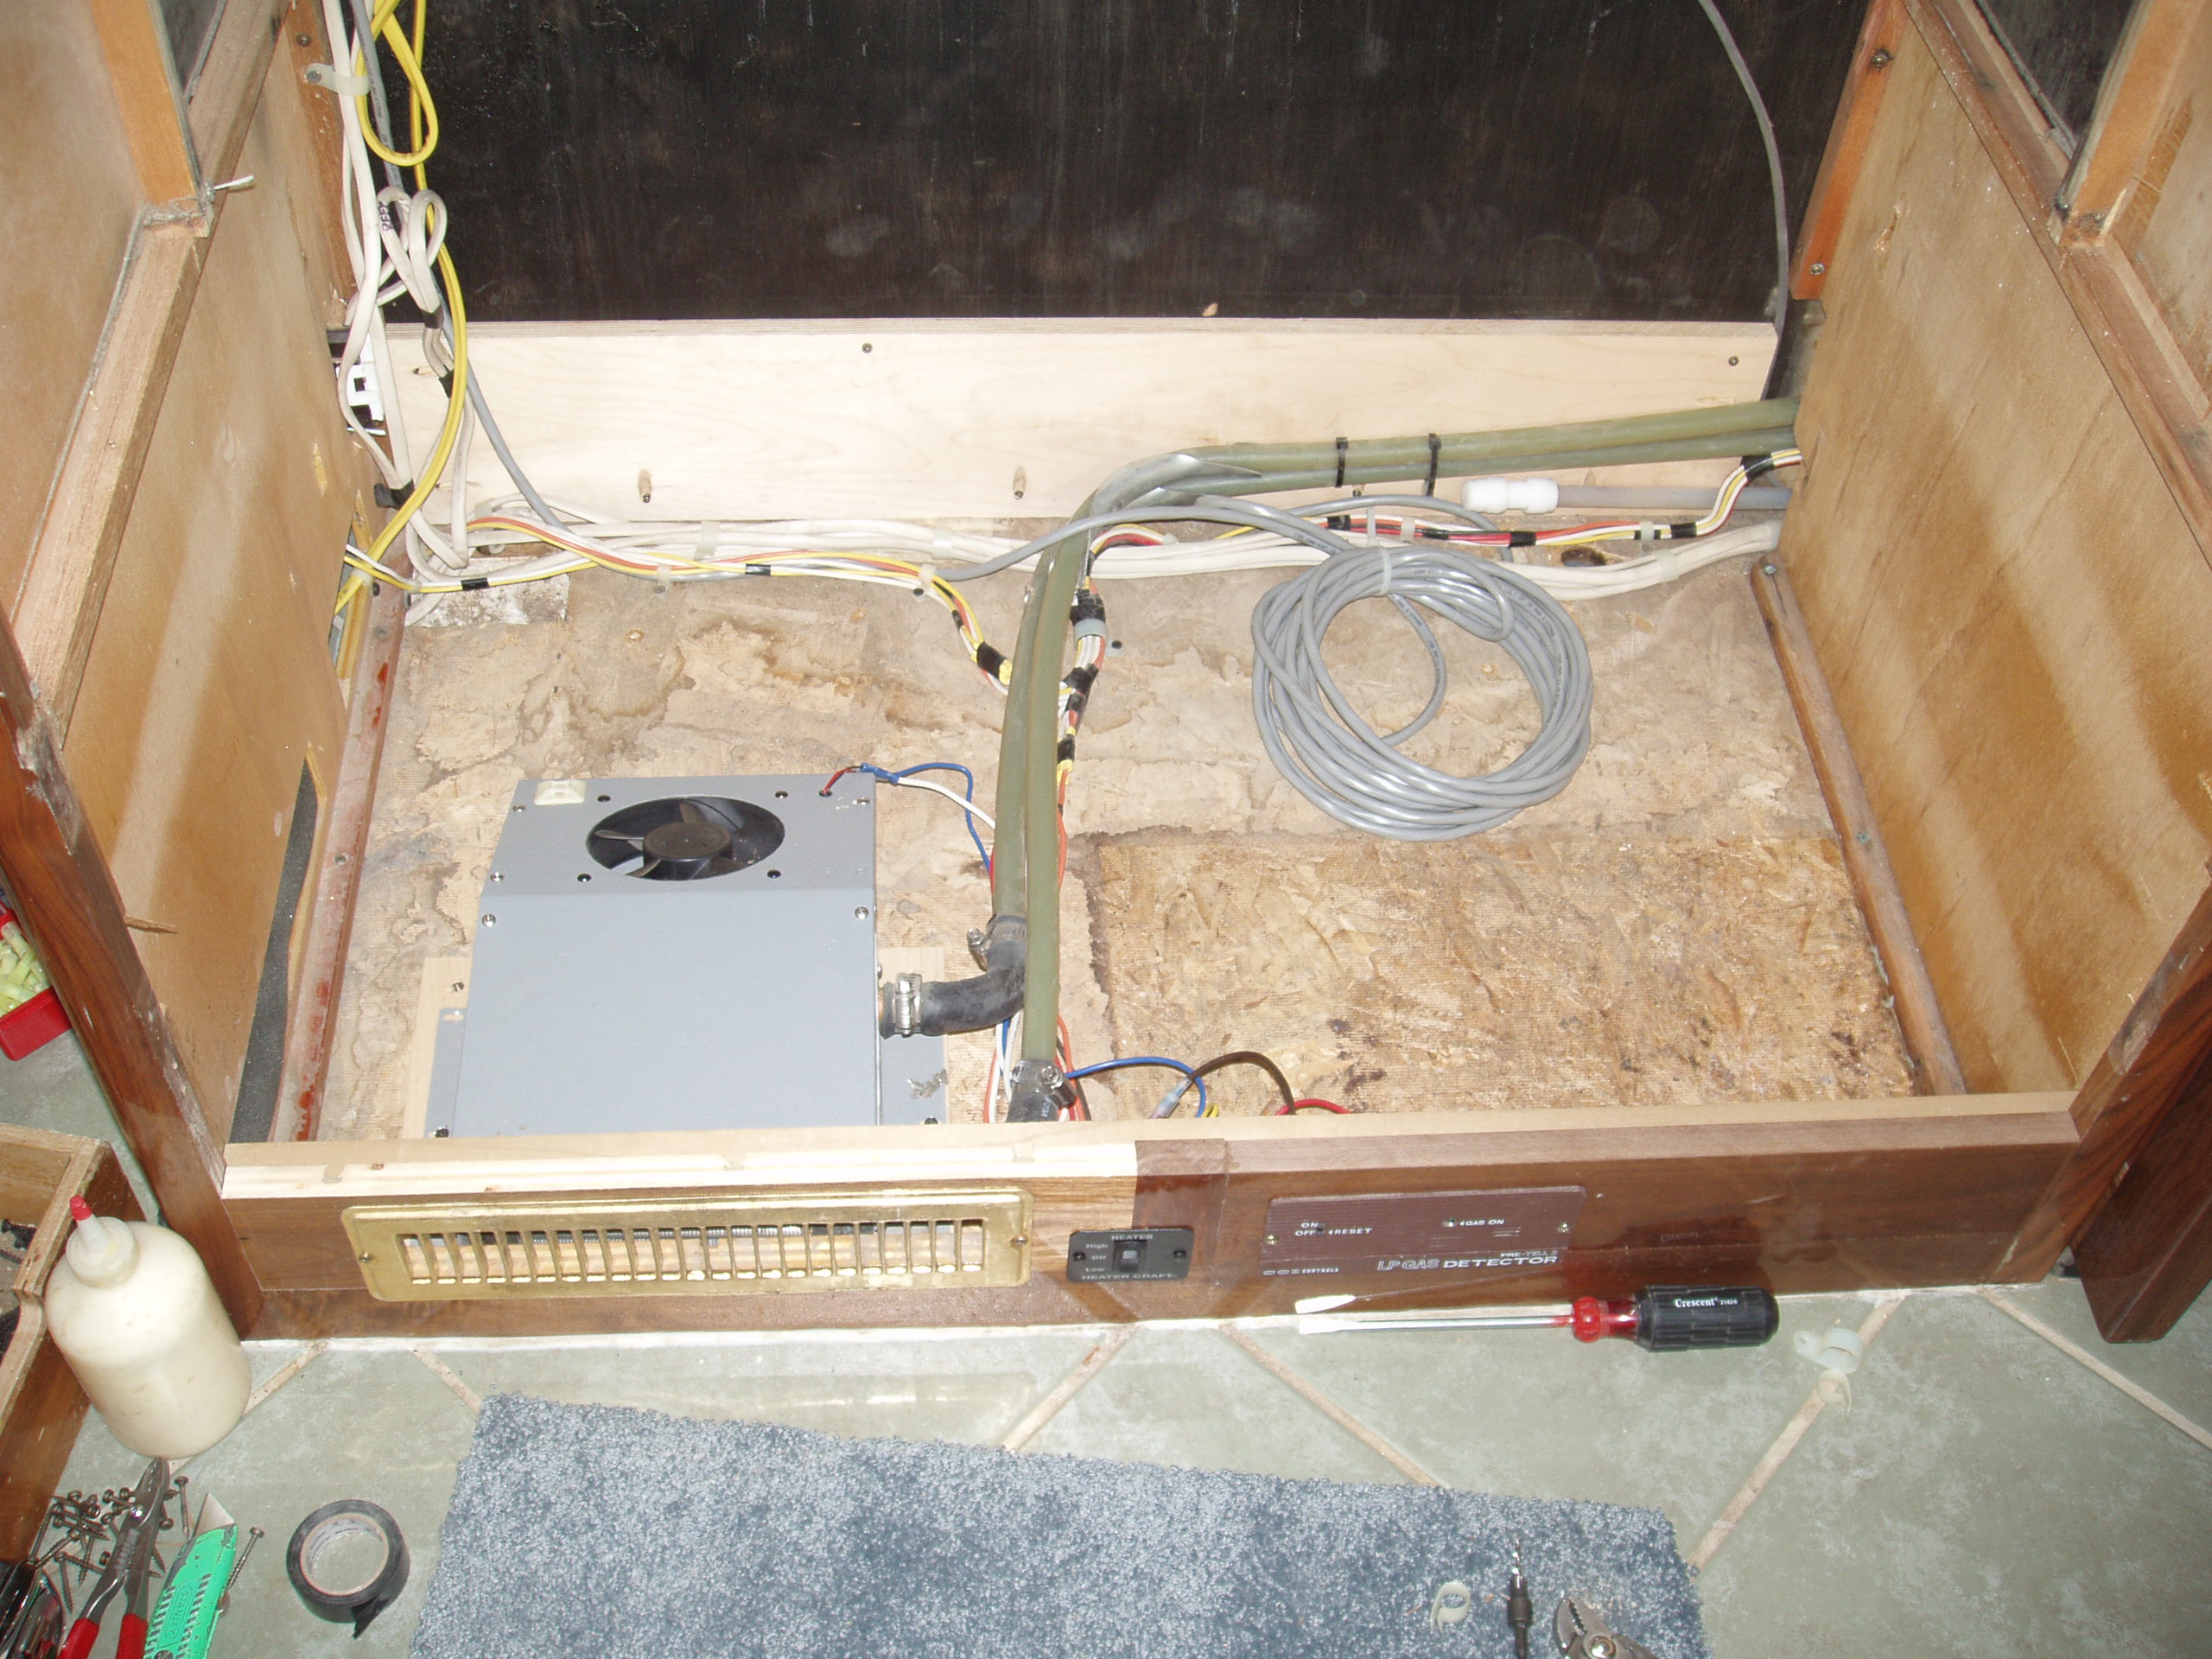
Converting the existing Dometic Refrigerator to a "Domestic" fridge required lowering the hydronic heating unit to the floor with its switch (now easier to operate) along with the gas sensor (now closer to the gas range) was moved as well (because of the credenza addition).
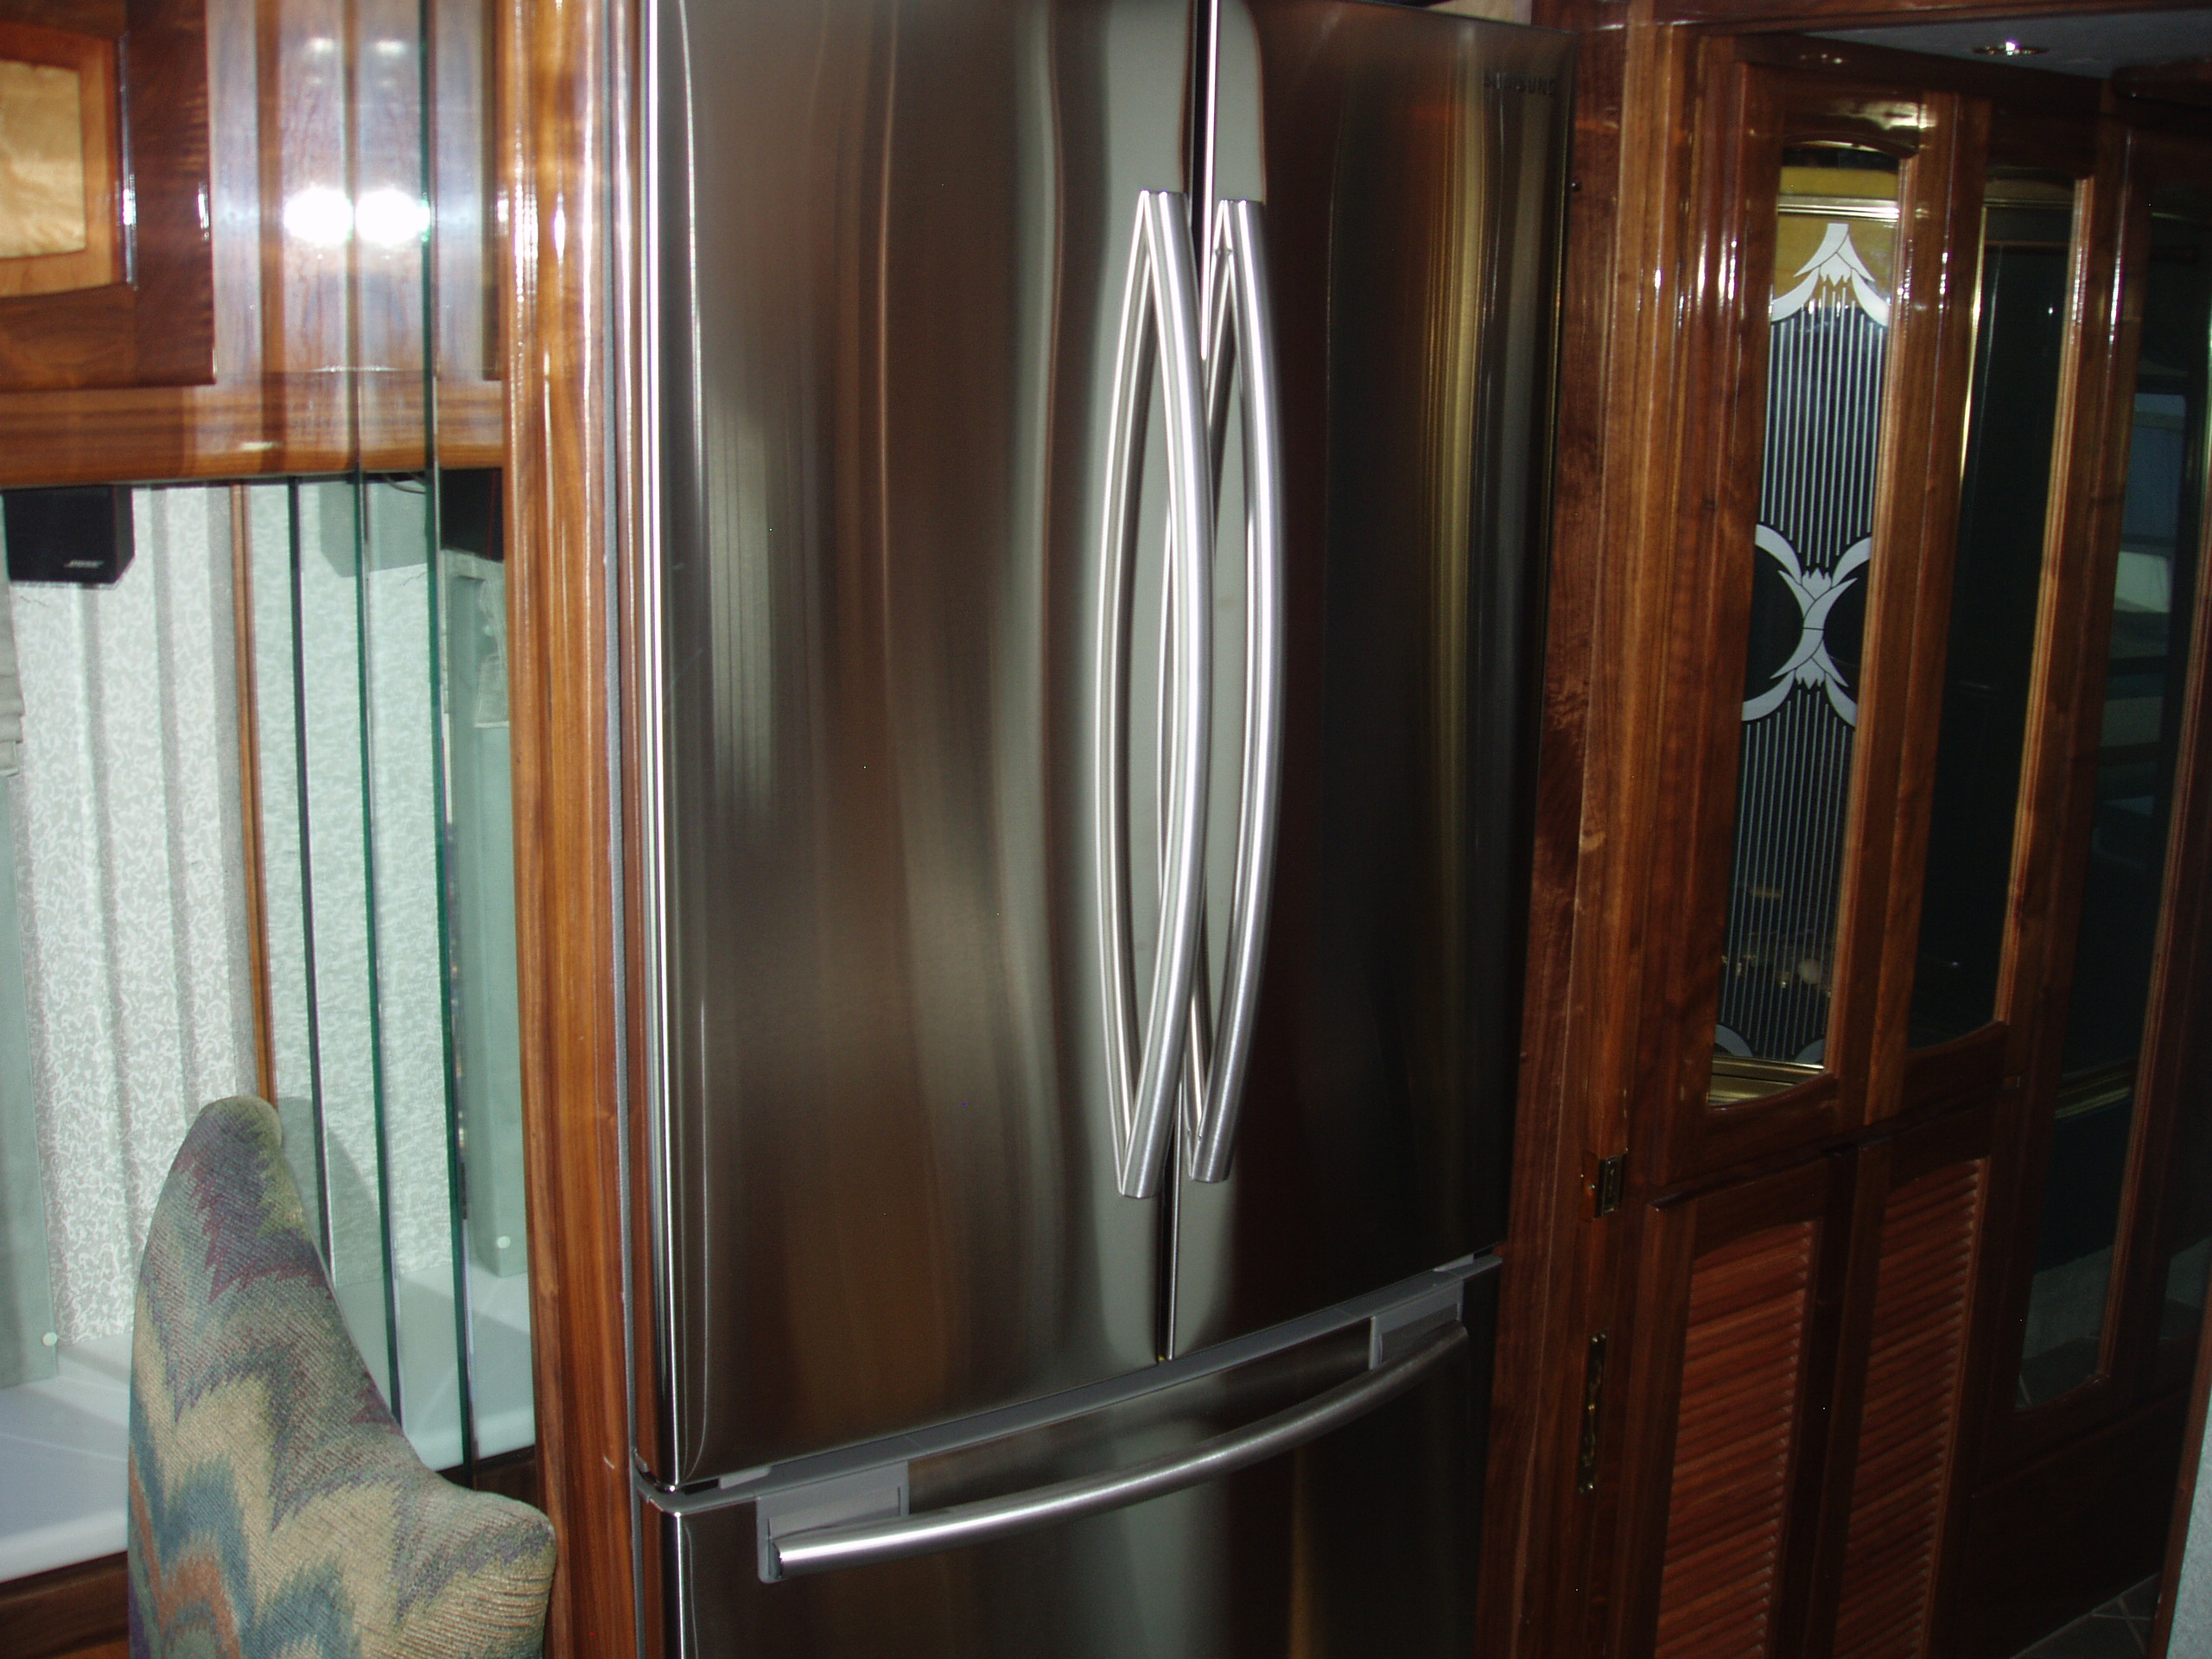
Here's a picture of the installed residential fridge. During our walkthrough it was determined that something was blocking the full opening of the pocket door next to the fridge. The course of action taken by RV Outfitters was to pull out the washer/dryer combo to attempt to see what the blocking was caused by. The pocket door simply couldn't be locked as it was kept from being opened enough to be locked for travel. As this problem was being mitigated RV Outfitters found that our washer water hookups had dry rotted so they replaced the connectors after finding the issue keeping the door from closing properly. The problem was the hydronic heater hoses (see previous picture) running behind the door. The fix was to flatten those hoses to the floor and a piece of wood blocking was used behind the washer/dryer to keep the hoses flat to the floor.
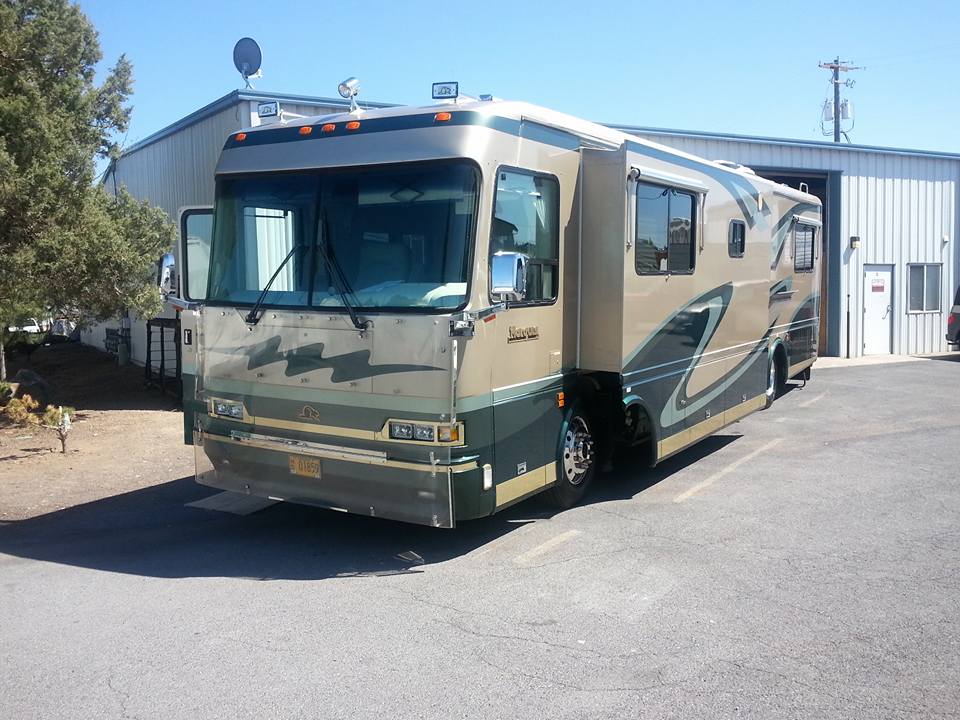
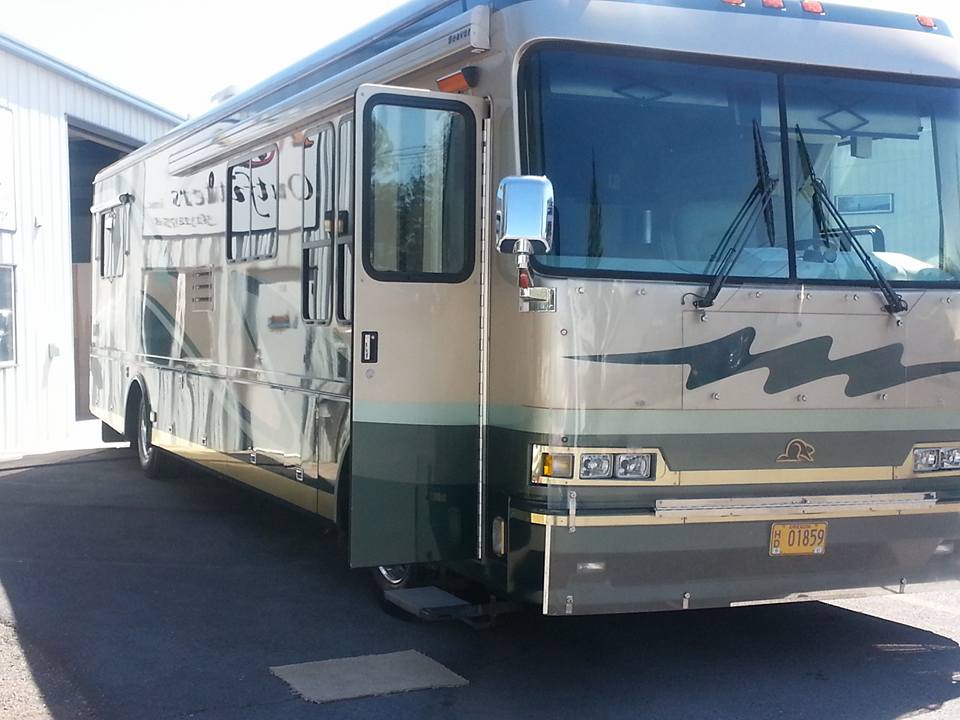
As much as we love the new interior aspects of our '99 Beaver Marquis, I have to say that our first impression of our freshly detailed coach simply amazed us. After doing the interior RV Outfitters had the coach detailed at our request and it just looked fabulous as we approached it. Not only was it washed, waxed, and buffed, but the chrome wheels were polished, the tires blacked, the rear full length flap was also blacked. The extra $500 was worth every penny! Though I had washed it frequently since my purchase in September of 2013, this was the only time I've given it the royal treatment on the outside.
In conclusion, the list of items completed by RV Outfitters included: Bedroom Remodel, Dining Room Remodel (Credenza/table), Removal/Replacement of Dometic RV Fridge with Samsung Residential Refrigerator, Removal of 5 windows (4 of which had their seals replaced by 3rd party and one was a bit hard to open and is now a little easier to use) and reinstallation of the windows, replacement of 2 "slats" on our existing ZIP DEE Awnings which I had managed to dent in the past couple of years while parking, an interior cleaning (3rd party), and finally the awesome shine of an exterior detailing by a 3rd party. The total cost of the effort was $17, 437. We chose to spend this and a bit more at other shops to add on a tow package, get an awning cover, and do some general sealing (a grand total of another $5000 or thereabouts) in order to use our coach as a full-time residence. Our other option was to spend considerably more for a newer coach with more slides and unknowns as to that coach's condition.